Enswitch - Update Outbound Caller ID Name and Number
Discover how you can update the caller ID number and name shown for outbound calls from your phones.

Written by Val Campos
Updated at June 2nd, 2025
Table of Contents
The Caller ID Number is the number that is used to identify the caller of the phone call. Since this number shown is frequently used as a callback number by callers, it is important that each user's caller ID is displaying the correct phone number.
The Caller ID Name (sometimes referred to as CNAME or CNAM) is the name that is associated with a Caller ID Number. If customers are seeing an incorrect or unfamiliar name when your users place calls, then they may be more likely to ignore or block your business' calls.
More Info: To learn more about outbound caller IDs, please read this article.
If you suspect your phone numbers are wrongly being flagged as “Spam Likely”, please read this article.
As an Enswitch admin, you can ensure the Caller ID information for your users' telephone lines is configured correctly to improve the calling experience your team and customers have.
Step 1: Adjust Caller ID for Extension Numbers
Each Telephone Line (aka extension number) has its own caller ID settings. As an Enswitch admin, you can set the caller ID information that is displayed for outbound calls.
To update a telephone line's caller ID settings…
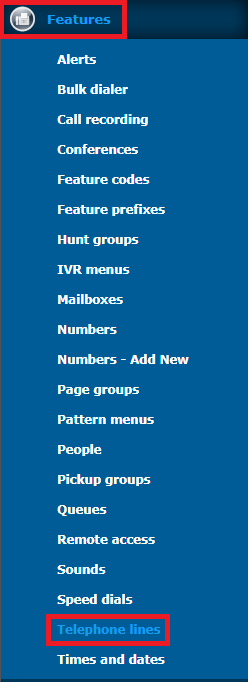
- Navigate to Features → Telephone lines.
- Click the extension number that needs its settings adjusted.

- Scroll down to the Line settings section to view the telephone line's caller ID information.

- Use the Callerid on external calls dropdown to select the phone number displayed for outbound calls made by the phone registered to this extension number.

Note: Selecting Default will have your account's main phone number shown.
- In the Caller name on external calls box, type the caller ID name that should be shown for outbound calls.

Note: If you place a call to a caller that has saved your phone number in a Contact, the name in their contact will be shown instead.
- If needed, you can adjust the following other caller ID related settings as well:
| Option | Description |
|---|---|
| * 911 callerid | Select the phone number that should be shown to emergency responders when this device dials 9-1-1. |
| Callerid on internal calls | Select the 7-digit extension number that this device should show as when placing an internal call to another user's extension number. |
| Withhold caller id |
If needed, select “Yes” to hide this telephone line's caller id. A person that receives a call from a device with this setting enabled will see Unknown shown as the caller ID. |
|
Caller name on internal calls |
Type the name that should be shown as your caller ID when you place a call to the phones of coworkers. NOTE: If you place a call to a user that has saved your extension number in a Contact, the name in their contact will be shown instead. |
- Click the Save button.

Step 2: Configure Phone Number Settings
The phone numbers that can be selected as a telephone line's caller ID have their own caller ID name settings. To check and edit the Caller Name settings of a phone number, do the following:
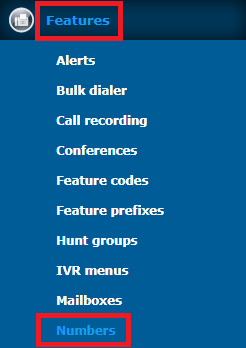
- Navigate to Features → Numbers.
- Click the phone number that needs adjustment.

- Adjust the following caller ID settings for the phone number as needed:

| Option | Description |
| Description | If needed, you can adjust the Description shown for the phone number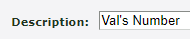
|
| Caller name |
The Caller Name shown for calls made to the selected phone numbers. Quick Tip: Adding a Caller Name can be useful for distinguishing when a caller is calling a phone number that has a specific purpose, such as vendors calling a phone number meant for a shipping department. |
| Caller name modifies existing name | Select how the Caller Name should appear for agents receiving calls made to the phone number. • Replace - Replace the Caller ID of the caller with the Caller Name selected above. • Prepend - Add the Caller Name selected above to the front of the caller's Caller ID. • Append - Add the Caller Name selected above to the end of the caller's Caller ID. |

- Click the Save button.
-
Place test calls to a cellphone to confirm the caller ID information from your phones is displaying as intended.
Note: If your outbound caller ID is still not displaying correctly, please contact our support team by calling (469) 429-2500 or emailing support@spectrumvoip.com to troubleshoot this issue further.
To learn more about outbound caller IDs, please read this article.
If you suspect your phone numbers are wrongly being flagged as “Spam Likely”, please read this article.