Enswitch - Web Portal Faxing
Discover how you can send eFaxes using your Enswitch web portal.

Written by Val Campos
Updated at May 28th, 2024
Table of Contents
As an Enswitch user, you can use the Enswitch web portal to send faxes to other people. The web portal can also be used to view and manage the faxes that have been sent to your mailbox. The mailbox that stores these faxes also stores your voicemail messages.
Send a Fax
On the Send a Fax page of the web portal, you can send faxes to people as needed.
WARNING: Please take note of the warnings you will see on this page to ensure that your fax is sent properly.

To send a fax to someone using the web portal…
- Log into your Enswitch web portal.
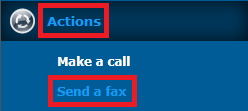
- Navigate to Actions → Send a fax.
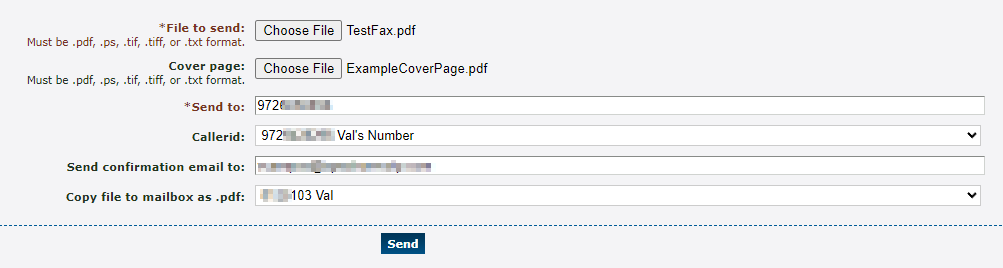
- To send a fax to a fax number, use the Send a fax menu to do the following:
| Option | Description |
|---|---|
| File to send | Click the Choose File button to select the document to fax. |
| Cover page | Click the Choose File button to select a document to send as a cover page for the fax. |
| Send to | Type the fax number that should receive the fax. |
| Callerid | Select the phone number that should be shown to the recipient for faxing back if needed. |
| Send confirmation email to | Type a valid email address that should receive an email confirming when the fax is sent. |
| Copy file to mailbox as .pdf | Select a user's mailbox that should have a copy of the sent fax. |
- When you are ready, click the Send button.
-
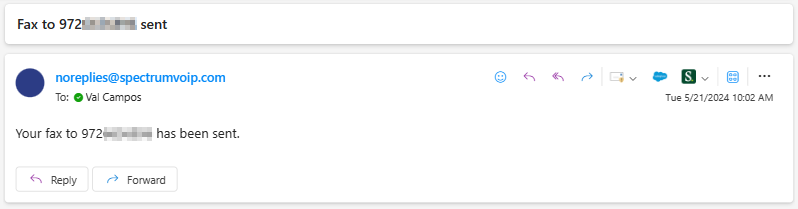
If you have set an email address to receive a confirmation email on step 5, you should receive a confirmation email letting you know when the fax has been sent.
✔ The recipient should receive the fax according to how their own fax services are set up.
If the recipient uses eFaxing, then they should receive an email with the fax and optional cover page attached. If they use a fax machine, their fax machine should print out the fax as they have configured.
View and Manage Faxes
Using the web portal, you can navigate to Messages → Faxes to view the faxes you have received or had copied into your mailbox.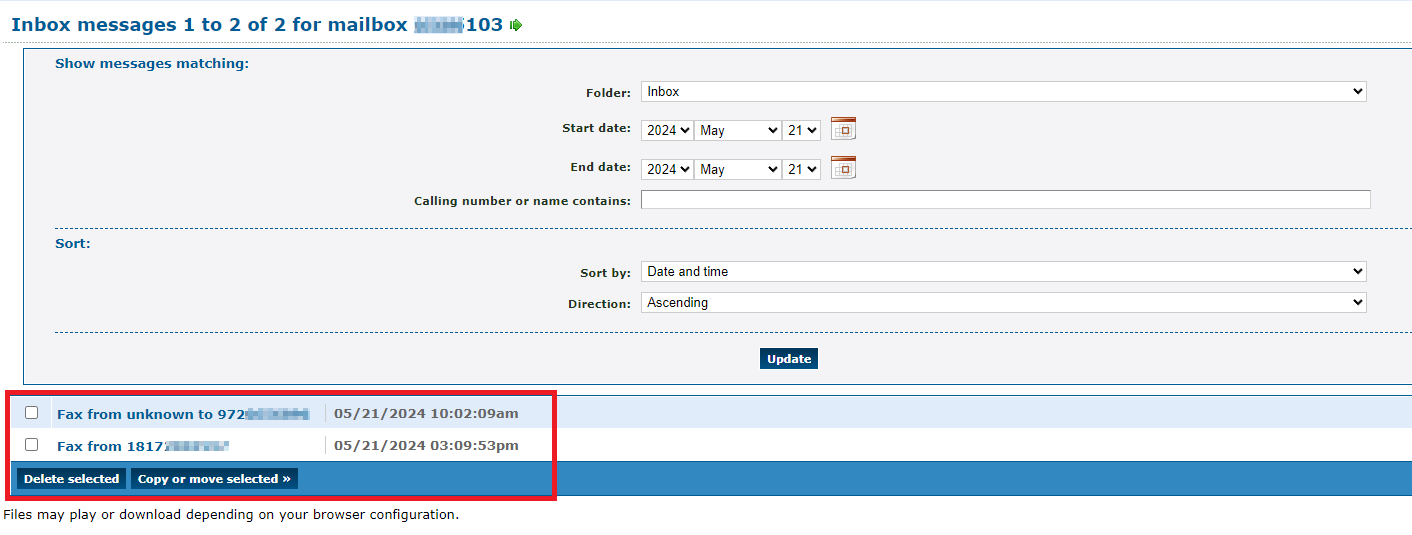
When you click one of the faxes shown, a copy of that fax will be downloaded to your PC: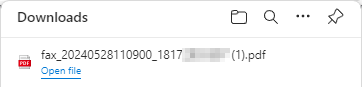
You can open your downloaded fax files to view faxes you are sent and confirm what you have sent through a fax.
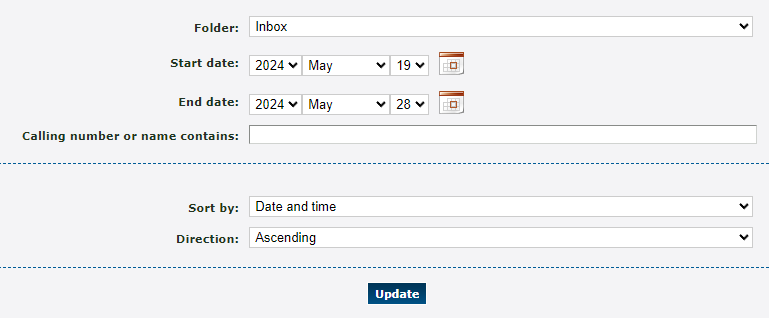
Find a Specific Fax
Use the options in the top menu to narrow down your search for a specific fax.
| Option | Description |
|---|---|
| Folder | Look at faxes stored in a certain folder of your mailbox. |
|
Start date & End date |
Select the start time and date and the end time and date to view faxes received or sent within a certain time frame. |
| Calling number or name contains | If you know the fax number or the caller ID of the fax number that sent/received the fax, type part of or all of the fax number's information here. |
| Sort by | Select how the results should be sorted. Your options include: • Date and time • Duration • Caller |
| Direction | Select if the results should be sorted in ascending or descending order based off of the Sort by option above. |
Copy and Move Faxes
If needed, you can organize your faxes by sorting them into folders.
1. Select the faxes that need to be organized and click the Copy or move selected >> button.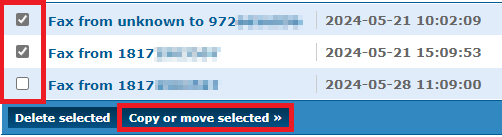 |
|
2. In the Copy or move messages menu, select whether to move the selected faxes or create a copy of these faxes to a specific destination.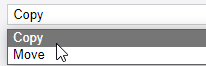
3. Use the To folder dropdown to select a folder to move or copy the fax to.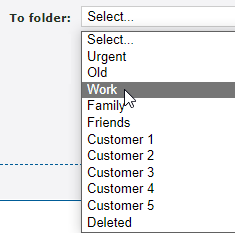
4. To copy or move a fax to another user's mailbox, in the or to mailboxes section, select a xtension number and then click the << Add selected button.
5. Once you are ready to complete the move/copy, click the Save button.
✔ You should see a confirmation message telling you that the message is now either copied or moved.
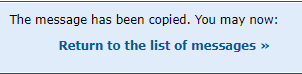
Click Return to the list of messages >> to go back to the previous page to view the rest of your faxes.
Delete Faxes
When you need to declutter your mailbox, you can delete any unneeded faxes at any time.
To do so…
1. Select the faxes that need to be deleted and click the Delete selected button.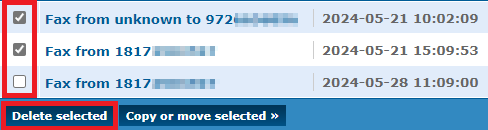
2. In the Warning message that appears, click OK to finish deleting the selected faxes.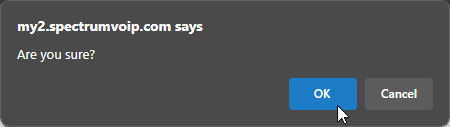
✔ You should see a message telling you that the message is now deleted.
Click Return to the list of messages >> to go back to the previous page to view the rest of your faxes.