Add Messages to a Call Queue's Music on Hold
Learn how to add custom announcements and messages to a call queue's music on hold (MOH).
Table of Contents
Create a Message for Callers Waiting in Queue
You may find it useful to create messages for your callers to hear while they are waiting in your queues. These messages could be advertisements, warnings, comfort messages, and much more.
To create a custom message to have played for callers waiting in a queue…
- In the portal, navigate to the Call Queues page.

- Across from the call queue needing this change, click the Edit MOH
 icon.
icon.
- To add a message to that queue, click the Add Message button.

- Using the Add Message modal, select from the following options:
-
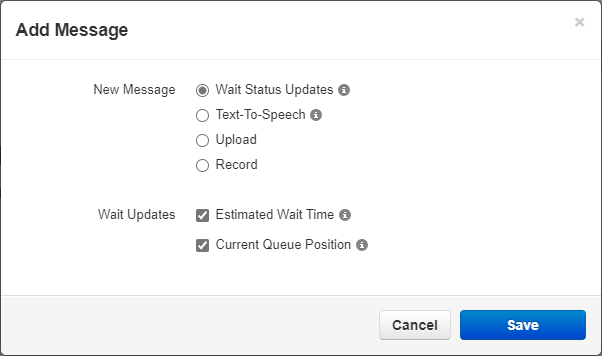
Wait Status Updates - Select if this message should let callers know their estimated wait time and/or their current queue position.
✔ A saved Wait Status Update message will appear in your list of messages:

-
Text-To-Speech - Type up a message and then select a voice to read off the message using voice synthesis.
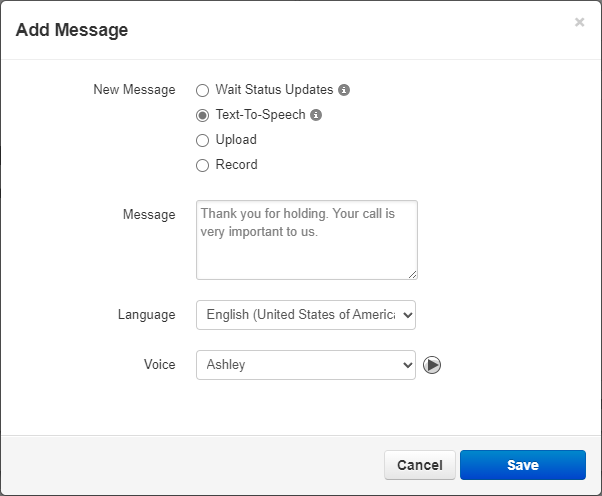
- After a message is typed up, the different voices can be tested by clicking the Play
 icon.
icon.
- After a message is typed up, the different voices can be tested by clicking the Play
-
Upload - Click the Browse button and select a properly formatted audio file to upload into the system.
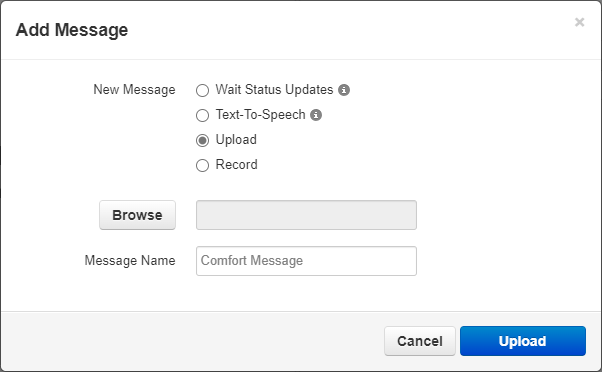
DANGER: The audio file needs to be in a .WAV file, mono channel, and 8000 Hz format to be properly read in the phone system.
To convert your audio file, use this handy website:
G711.org - Telephony File Converter
When using this website to convert the file, select the “Standard Definition” option for the Output Format. -
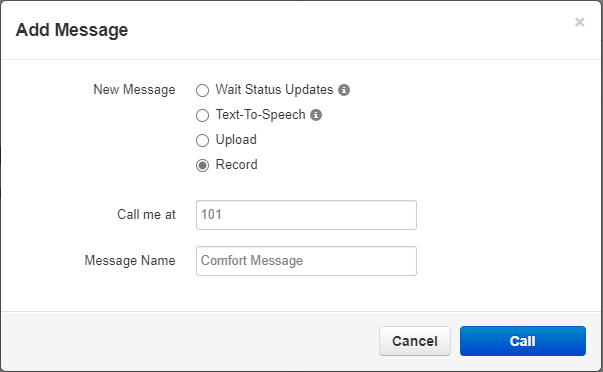
Record - Use the Call to Record feature to send a call to an extension number or 10-digit phone number that will record what is said by the person answering the phone.
-
Wait Status Updates - Select if this message should let callers know their estimated wait time and/or their current queue position.
- Repeat Steps 3 and 4 for each additional message you would like added.
Note: To learn about adding an Introduction message for your queue, read this article.
Manage Your Queue's Messages
Once a message is saved or uploaded, you will be able to view, listen to, and manage the message you have created.
You have the options to reorder your messages, copy a message, download a backup of a message, edit the name of messages, and delete messages. You can also configure how long the queue will wait before playing the next message,
Reorder Messages
If you have multiple messages, you can easily reprioritize them.
To reorder your messages, click and drag a message using the arrows  . On the confirmation message, click the Save button.

Edit a Message's Name
To make organizing and identifying your messages easier, you can rename your messages to give them unique, descriptive names.
To edit a message's name…
- Click name of the message or click the Edit Message Name
 icon.
icon. - In the Edit Message Name modal, use the Message Name box to type a new name for the message.
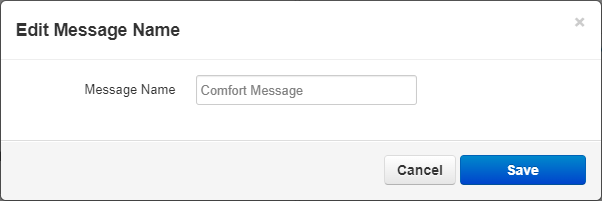
- Click the Save button.
✔ Now you can have an organized list of your messages.

Set Time Between Messages
When you have multiple messages, it can be useful to adjust how long the queue will wait before playing the next message.
To adjust the time between messages…
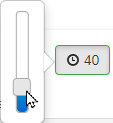
- Click the Time (sec) between messages button.

- Use the slider to select how long (in seconds) the queue will wait before playing the next message.
Download a Backup of a Message
As a precaution, you can download back-up audio files of your queue's messages, which you can upload in the future if anything happens to your messages.
To download a back-up audio file of a message, click the Download  icon.
icon.
✔ Doing so will download a formatted .wav file that can be uploaded later without any conversion.

Copy a Message
Instead of having to add multiple messages that say the same thing, you can copy a message with ease.
To copy a message, click the Copy  icon.
icon.
✔ Doing so will create a replica message with “(Copy)” appended to end of the message's name.

Delete a Message
If you have a message or copy of a message that is not needed, you can easily remove the message.
To delete an obsolete message…
- Click the Delete
 icon.
icon. - On the Delete confirmation message, click Yes to delete the message or No to keep the message.

✔ Once a message has been deleted, the webpage will tell you that the “Music on hold file has been deleted”.
