Enswitch - Time Groups, Time Periods, and Time Routes
Learn more about Time Groups, Time Periods, and Time Routes to gain an understanding of how these different functions are used to implement time-of-day routing in the Enswitch web platform.

Written by Val Campos
Updated at March 18th, 2026
Table of Contents
What is the Difference?
As an Enswitch admin, you may have come across the terms Time Group, Time Period, and Time Route. Although these terms may sound interchangeable, these terms actually have different meanings in the Enswitch web platform.
Reference the table below to explore the key differences between these three functions and learn more about how these functions rely on each other for time-of-day routing.
| Time Group | Time Period | Time Route |
|---|---|---|
|
• Referenced by a Time Route to determine when the time route should be active. • Groups together multiple, related time periods. |
• A range of times, days, and dates that is used for routing/forwarding scenarios. • Multiple time periods are grouped into Time Groups. |
• Determines where a call should be routed/forwarded depending on the day, time, and date. • Relies on a Time Group to determine when it should be active. |
The Times and Dates Page
On the Times and dates page, you can view the different Time Groups that have been created for your account. 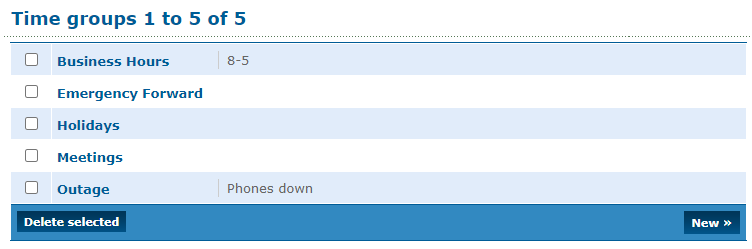
Step 1: Create a Time Group
In order for a Time Route to be added to a phone number for call routing, a Time Group will need to be created for storing Time Periods.
To create a time group for a specific routing/forwarding scenario…
- Navigate to Features → Times and dates.
- Click the New button.
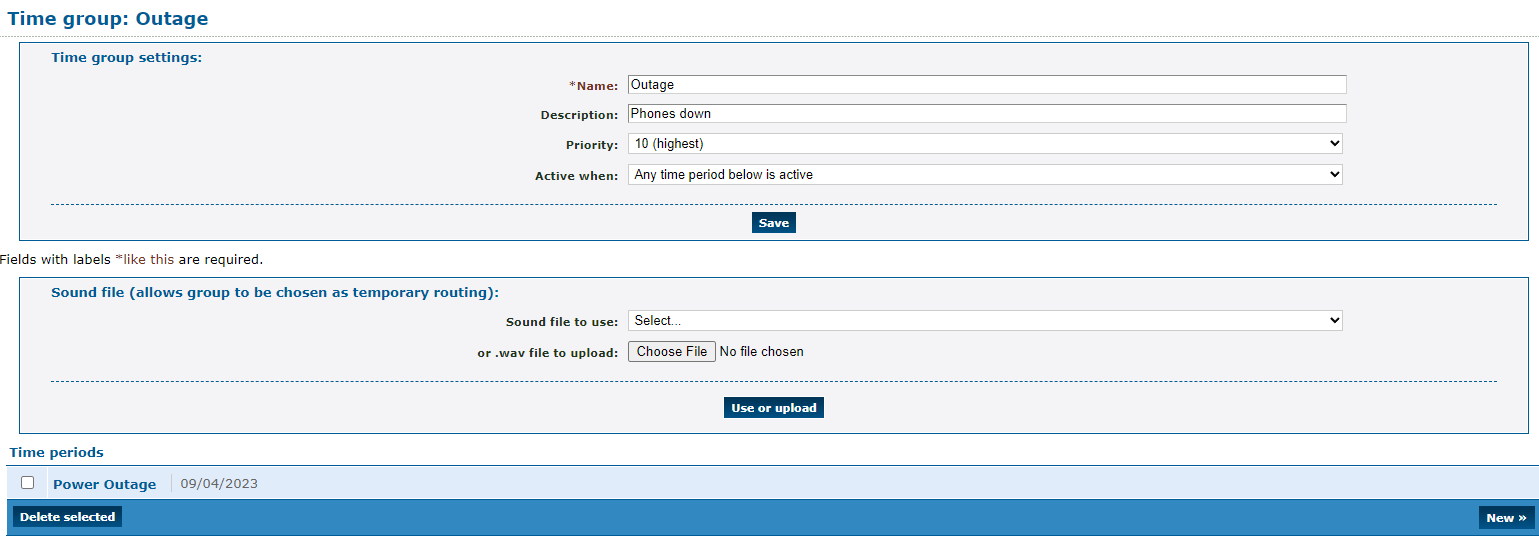
- On the New time group page, fill in the following information:

- *Name - Give the time group a unique name to identify it by.
- Description - If needed, add a description that will show by the time group's name.
- Priority - If this time group will be for emergencies, like an outage, use the Priority drop-down to select 10 (highest).
- Click the Save button.
✔ You should see a confirmation message telling you that the time group has been sav
You can click Add a new time period >> to start adding time periods to the new time group.
Step 2: Add Time Periods to a Time Group
Once a time group has been created, time periods can be added to it. A time period determines the date and time that call routing/forwarding should be active.
To add a time period to a time group…
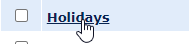
- Click the name of the time group you want to add a time period to.
Quick Tip: If you are still viewing the Time group saved confirmation message, you can click Add a new time period >> instead.
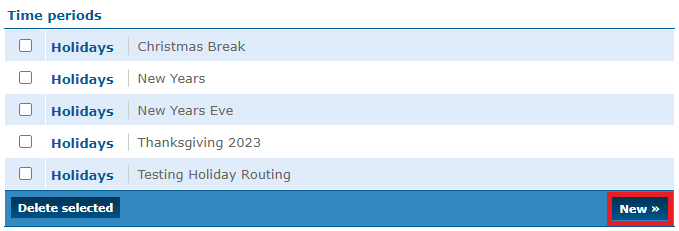
- In the Time periods section, click the New >> button.
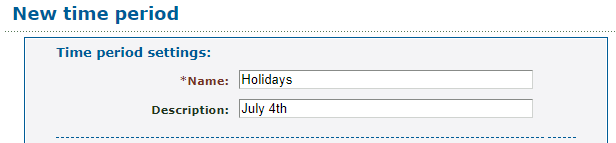
- On the New time period page, use the Time period settings section to give the time period a descriptive name and an optional description.
- In the When the time period starts and stops each day section, use the dropdowns to select the start and stop times for this time period.

Note: The times shown will be in the 24-hour format.
- In the Which days the time period is active section, select the day, month, and year that this specific period will be active for. These options can be set in different ways depending on
Quick Tip: If needed, multiple days can be selected as long as they both follow the same start and stop times. To select multiple days, either click and drag to highlight multiple, or press Ctrl while clicking selecting.
Example Time Period Setups
Depending on the frequency and use case of the time period, the way the times, days, and date can be selected may differ. Below are common example time periods created for different scenarios.
• If the time period recurs at the same times during certain days of the week, you can focus on selecting the Start time, End time, and Days of the week options.
For example… For the business hours, you can just select the start and ending time of the hours and the days that are open during those times.
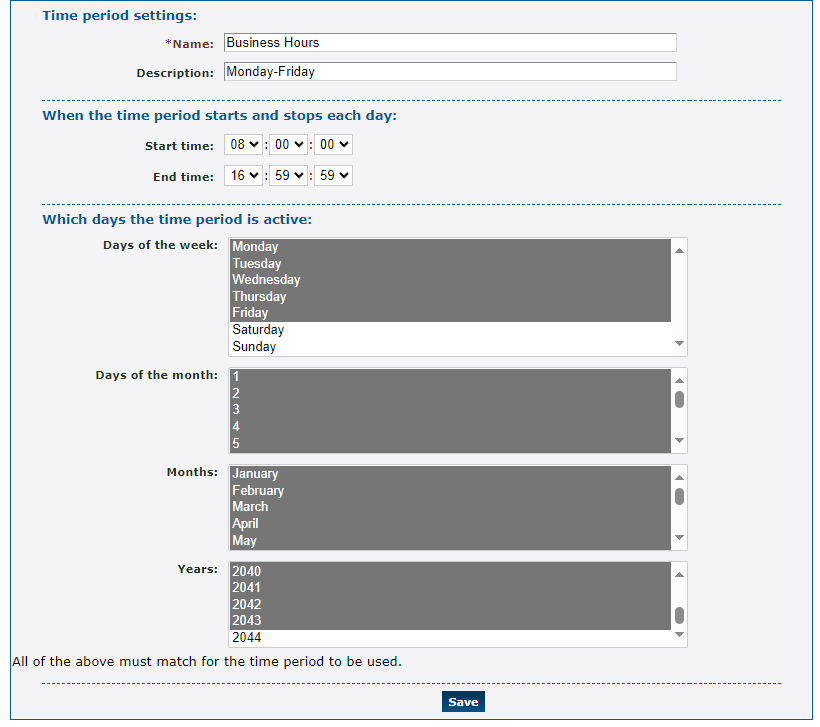
If there is a day that is open for a different time frame, you would need to add another time period that accounts for that day of the week and its different hours.
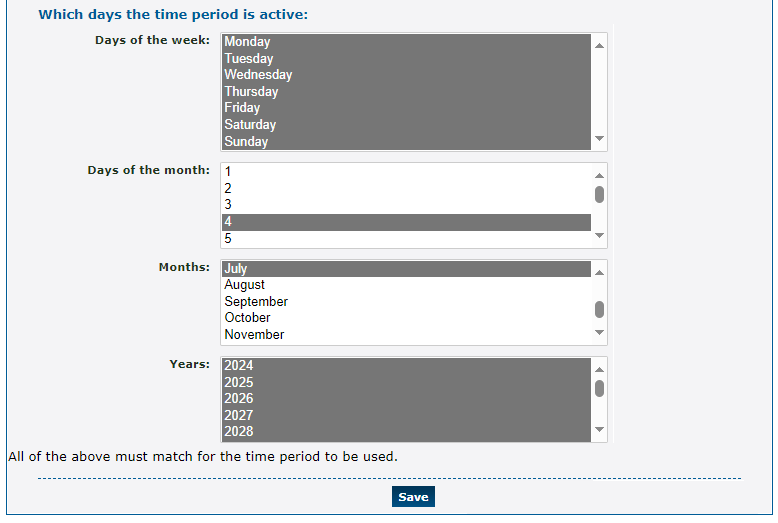
• If the date recurs on a yearly basis on a specific date, such as Christmas, New Year's, Memorial Day, etc., you can use just the Days of the month and Months options to select the specific date.
For example… The 4th of July occurs yearly on the 4th day of July, so I can select the 4th of July like so:
• If the date occurs on a specific date once or yearly on a different date, use all of the options to select the appropriate date.
For example… Father's Day occurs on a different date each year. For 2024, I would select the date for Father's Day for that year, like so:
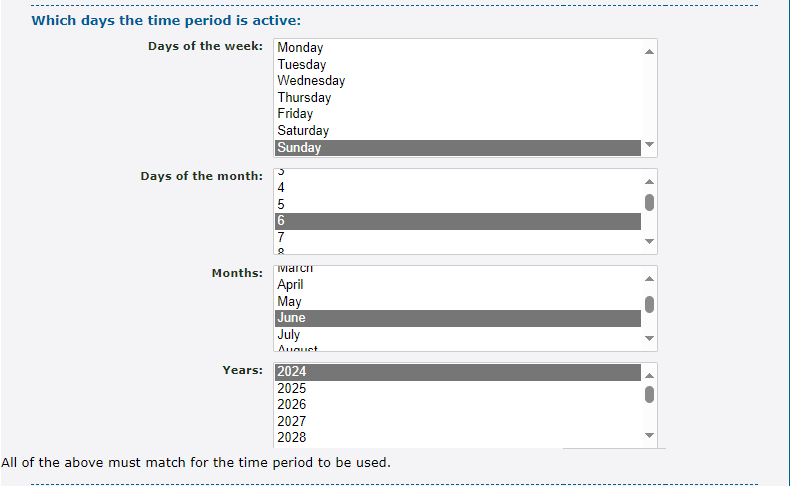
To prepare for 2025, I would create another time period for the date Father's Day would take place in 2025.
- Click the Save button.
✔ You should now see this time period showing in the time group.
More time periods can be added in the future that will determine when this time group should be active.
- If needed, repeat steps 2-6 for each time period that should be added to the time group.
Step 3: Create a Time Route for a Phone Number
Once a time group has been created and has had time periods added to it, the time group can be used to create a time route for a phone number. A phone number's time route tells the system where calls should be routed when a time group is active.
To configure a time route for a phone number…
- Navigate to Features → Numbers.
- Select the phone number that needs to temporarily be forwarded.
- In the Time routes section, click the Add a time route button.

- In the New time route window, fill in the following information:
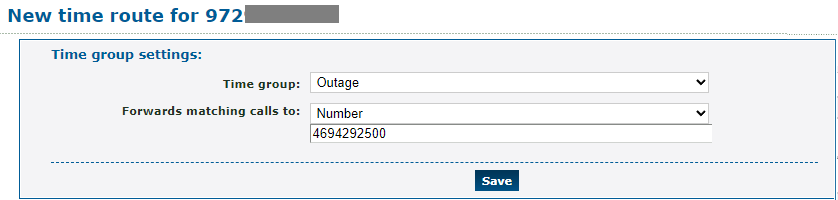
- Time group - Use the drop-down to select the time group that this route will use.
-
Forwards matching calls to - Select the destination for calls that are forwarded during this time. Commonly used destinations include:
- Number
- IVR menu
- Mailbox
- Dial by name menu
- Click the Save button.
✔ You should now see the new time route and where it will route calls.

The destination of this time route can be edited at any time by clicking its name.
Clicking Edit time group will take you to where you can add more time periods for the time group to be active in.