Register an SMS Campaign in Stratus
Discover how to create an SMS campaign and register SMS phone numbers using the Stratus web portal.
Table of Contents
Create and Register an SMS Campaign
SMS campaigns can be a powerful tool for reaching customers effectively. If you are using Stratus and want to set up an SMS campaign specifically for Bandwidth numbers, follow these steps to ensure a professional and successful campaign.
Note: If you encounter any issues registering your business' SMS brand and campaigns, please reach out to our technical support department.
Step 1: Create a New Brand
In order for an SMS campaign to created, a brand needs to be configured that identifies your company.
WARNING: You can only have one Brand registered for your company.
To create a Brand…
- Navigate to Inventory → SMS Campaign Registry.
- Click the Add New Brand button to pull up the Add New Brand modal.

- Read through our Campaign Registry Legal Terms.
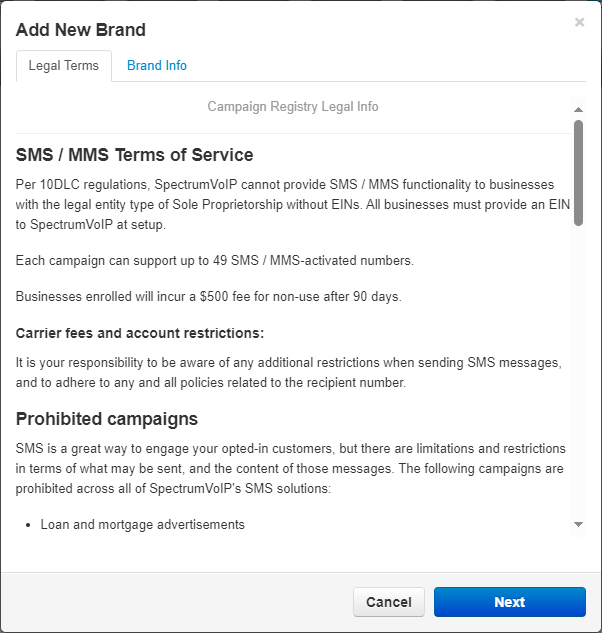
- To accept these legal terms, type in your First Name and Last Name, and select Authorizing Person agrees to all the Terms of Service as described above.

- Click the Next button.

- In the Brand Info form, fill in your company's information.
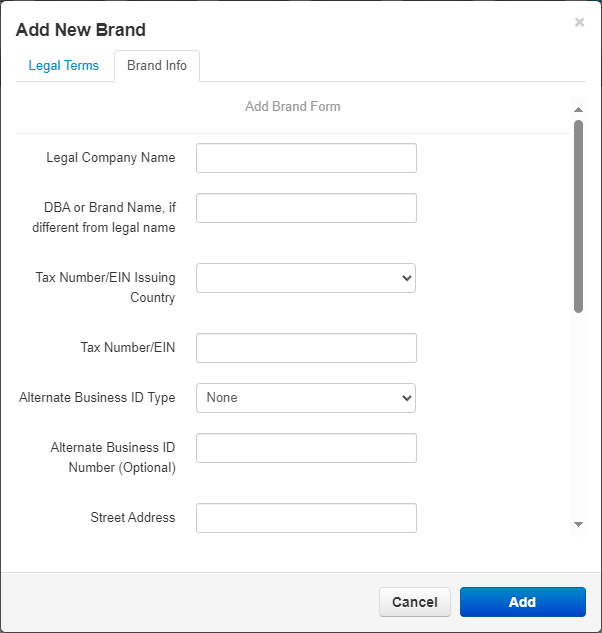
Quick Tip: To ensure your request to have a brand registered is verified, make sure your provided Tax ID matches your company's Legal Name.
WARNING: If you set your Opt-In option to Website, make sure that the website offers a way for users to opt-in to receive SMS messages.
If your website does not have this feature, your SMS campaign may fail verification.
- Click the Add button.

Step 2: Wait for Brand Verification
After adding the brand, you will need to wait for it to undergo verification. This process may take a few minutes.
Once your brand is vetted and verified, your brand's Identity Status will show as VETTED_VERIFIED.
Step 3: Add a New Campaign to the Brand
After vetting and verifying the new brand, campaigns can be added for each batch (49 phone numbers) of SMS numbers.
WARNING: Every 49 numbers will need a new campaign created.
Please also review the following articles before beginning the campaign registration:
To create a new campaign…
- Once your brand's Identity Status is updated to VETTED_VERIFIED, click the Brand Name.
- Click the Add New Campaign to this Brand button.

- In the Add New Campaign modal, configure your new campaign.
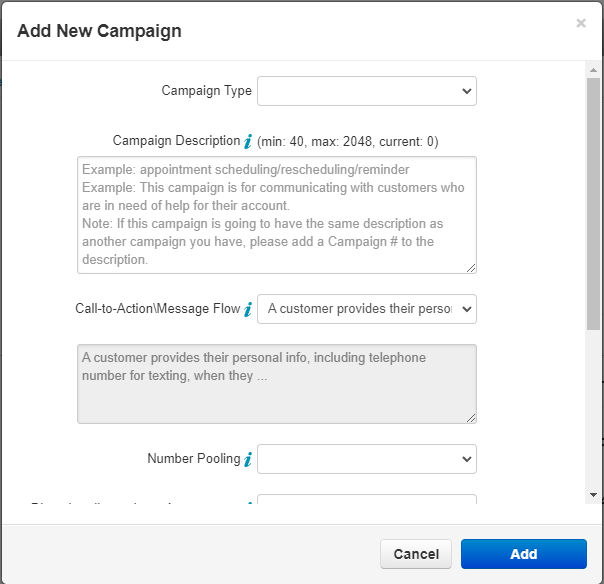
- Campaign Type: Select UCaaS Low Volume Mixed.
- Campaign Description: Provide a description of the campaign.
-
Call-to-Action/Message Flow: Specify your preferred method for contacting your clients.
Quick Tip: The most commonly used option is "A customer provides their personal info, including telephone number for texting when they call our office at PHONE_NUMBER."
Select “Other” to type your own message description.
Quick Tip #2: Consider linking a direct link to your privacy policy in the call-to-action and campaign description.
- Number Pooling: By default, this option is set to Yes. Select No if you would like number pooling to be blocked.
- Direct Lending or Loan Arrangement: By default, this option is set to Yes. Select No if you would like this option to be blocked.
- Embedded Link: By default, this option is set to Yes. Select No if you would like this option to be blocked.
- Embedded Phone Number: By default, this option is set to Yes. Select No if you would like this option to be blocked.
- Age-Gated Content: Select No in all cases.
- Terms & Conditions: Select Yes to agree to SpectrumVoIP's terms and conditions for using our SMS service.
- Once completed, click the Add button.

Campaign Rejections
If your campaign is rejected, you may review the rejection code in the Stratus portal and reference our article here for a better description on the reported reasons for rejection.
https://documentation.spectrumvoip.com/sms/sms-campaign-reasons-for-rejection
Note: For additional assistance on the registration process, our technical support team can be reached at support@spectrumvoip.com or at (469) 429-2500.
Step 4: Register Phone Numbers for the Campaign
With the campaign configured, you can now add numbers to it.
To do so…
- Click the Campaign ID.

- Click the Register Phone Number to this Campaign button.

- In the Register Phone to Campaign modal, use the Phone Number drop-down to select the phone number that will be registered to this campaign.
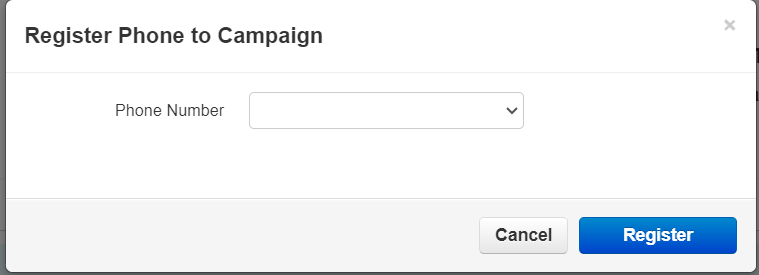
- Click the Register button.
- Repeat steps 2-4 for each number that needs to be registered.
Quick Tip: Alternatively, use the Bulk Register feature to upload a .CSV file of the phone numbers.
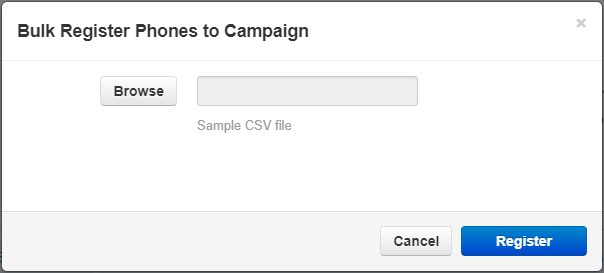
Click Sample CSV file to download and use a template for this list of phone numbers.

REMINDER: Only 49 numbers can be registered to a single campaign.
Create another campaign for any additional numbers.
Note: To learn more about how you can manage your new SMS Brand and its Campaigns, read our Manage Your SMS Brand and Campaign guide.