Enswitch - Bulk Dialer Campaigns
Discover how you can set up bulk dial campaigns so that automated calls can be placed to your clients for things such as appointment and billing reminders.

Written by Val Campos
Updated at July 12th, 2024
Table of Contents
Implement a Bulk Dialer Campaign
For some businesses, it may be imperative that batches of phone numbers be automatically called at certain intervals. This can be done using a bulk dialer. Using a bulk dialer can be helpful for sending clients reminders and notices through a phone call.
To fully set up a bulk dialer campaign, the following needs to be completed:
- Create a bulk campaign and configure its settings.
- Add phone numbers as destinations for the campaign.
- Set up a message to be played to destinations.
Step 1: Create a Bulk Dialer Campaign
As an Enswitch admin you can use the Enswitch web portal to create a bulk dialer campaign.
To create a bulk campaign…
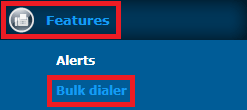
- Navigate to Features → Bulk dialer.
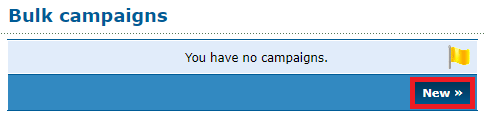
- On the Bulk Campaigns page, click the New >> button.
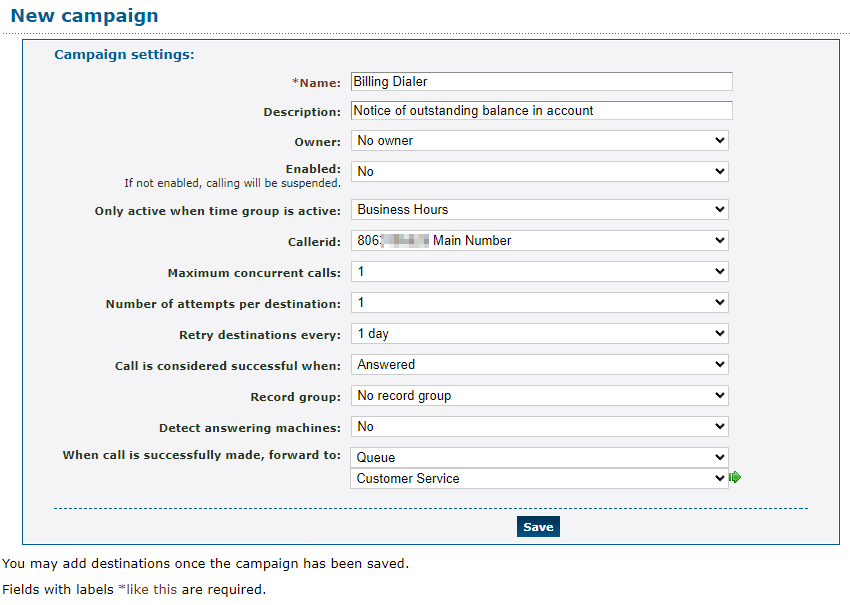
- In the New campaign menu, input the following information:
| Option | Description |
|---|---|
| * Name | Type a name for identifying this bulk dialer campaign. |
| Description | Type a brief note describing the purpose of this bulk dialer campaign. |
| Owner | If needed, select a user that should be able to view and edit this bulk dialer campaign. |
| Enabled | Select whether or not this campaign should be active and start making calls. |
| Only active when time group is active | Select an existing time group that the bulk dialer should actively dial its destinations. |
| Callerid | Select a phone number on your account that should be shown to the destinations that receive a call from this bulk dialer campaign. |
| Maximum concurrent calls |
Select the maximum number of calls that should be placed to the campaign's destinations at the same time. For example… If this is set to 1, then the campaign will only place calls to its destinations one at a time. |
| Number of attempts per destination |
Select the total number of calls that each destination should receive over time. Note: If a destination is called this many times without being considered a success, the campaign will stop calling this destination. |
| Retry destinations every | Select how long the campaign should wait before placing another call to each destination. |
| Call is considered successful when |
Select if a bulk dialer campaign call should be marked as successful if the destination answers the call or presses a key on their dial pad. Note: If a call to a destination is considered successful, the call will be forwarded according to the "When call is successfully made, forward to" option and the campaign will stop placing calls to that destination. |
| Record group | If calls made through this campaign should be recorded, select a record group that should record and store these recordings. |
| Detect answering machines |
You can have the campaign either retry later, mark the call as successful, or mark the call as failed. |
| When call is successfully made, forward to | Select where a call marked as successful should be forwarded, such as an IVR menu, a queue, or a specific user's telephone line. |

- Once you are ready, click the Save button.

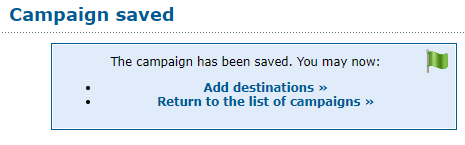
✔ Once you save, you should see a confirmation message stating that the campaign has been saved.
-
Repeat steps 2-4 for each bulk dialer campaign that is needed.
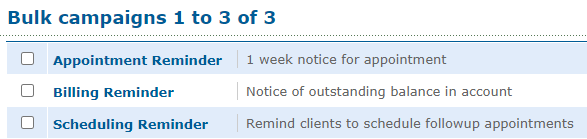
✔ You should now have a list of the different bulk dialers to be used for different scenarios.
Delete a Bulk Campaign
If a bulk dialer campaign is no longer needed, on the Bulk Campaign's page, select the campaign and click the Delete selected button.

Step 2: Add Destinations
Now that a bulk dialer campaign has been created, phone numbers to be called can be added as destinations. To add destinations to a bulk dialer campaign…
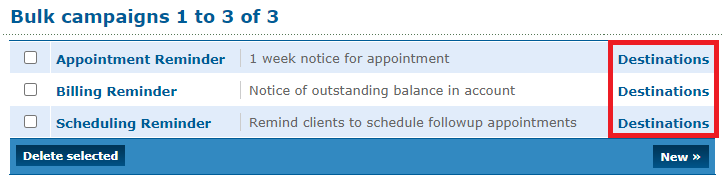
- In the Bulk Campaigns page, click Destinations next to the bulk dialer campaign.
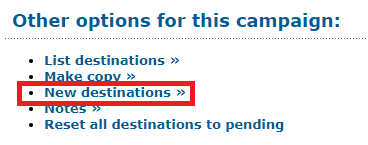
Note: If you are viewing a campaign's settings, you can click the New destinations >> link in the Other options for this campaign section.
- On the Destinations page, click the New >> button.

- In the New destinations menu, do one of the following to add the destinations:
-
Create a text file to upload using a text editor, such as Notepad.
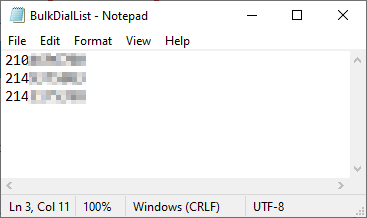
Note: Once you have created the text file, click the Choose File and select the .txt file from your PC.

- In the “or enter destinations one per line” box, type the phone numbers that should receive calls, like so:

WARNING: Type these phone numbers without any special characters. It is also recommended to include the country code of the phone number to avoid any dialing issues.
-
Create a text file to upload using a text editor, such as Notepad.
- Once you are done, click the Add button.

✔ You should now see a confirmation message stating that the destinations have been added.
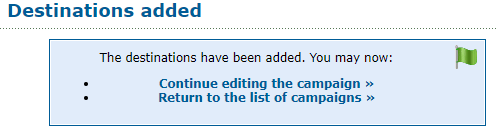
Valid phone numbers that were added should now be listed as destinations for the campaign.
Step 3: Add a Message
When destinations receive a call from this campaign, they will first hear a message.
To add the message that callers will hear,
- On the Bulk Campaigns page, click the name of the bulk dialer campaign.

- In the Message to destinations section, do one of the following to add a message:
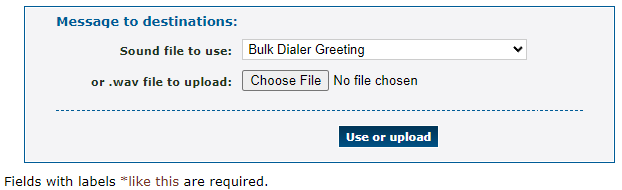
- Click the Choose File button to select a .wav file from your PC.
- Use the Sound file to use dropdown to select a sound that has been saved to the Sounds page.
- Once the message has been selected, click the Use or upload button to apply the message.

Manage Destinations
On the Bulk Campaigns page, click Destinations next to the bulk dialer campaign.
If you are viewing a bulk campaign, in the Other options for this campaign section you can click List destinations >> instead. 
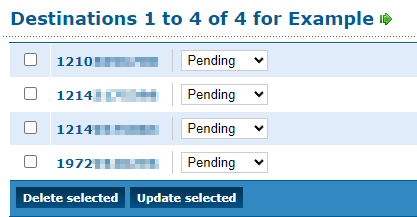
In the Destinations menu, you can view the phone numbers that will be contacted according to the bulk campaign. While viewing these destinations, you can do the following: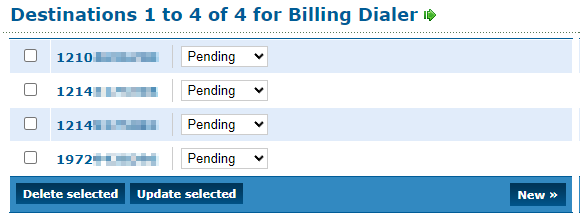
View a Destination's Details
While viewing the destinations in a campaign, you can click a phone number to view its information.
You can view the phone number, the number of attempted calls made to this destination from the campaign, and its status.
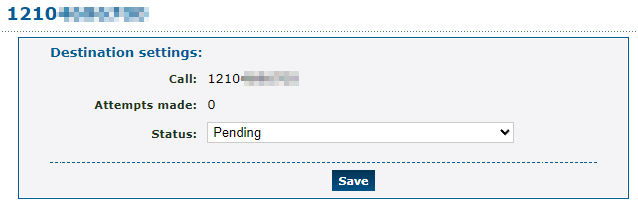
The Status dropdown can be used to change the destination's status.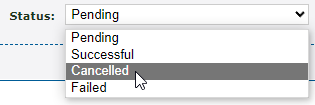
✔ Changing the status of a destination ensures that the campaign is no longer calling the destination. This can be useful if a client calls in regarding what the bulk dialer call addresses.
Update a Destination's Status
You can use the dropdown next to a destination to adjust its status.
Once the dropdown has been adjusted, select the destination and click the Update selected button.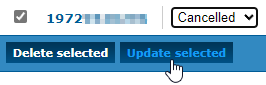
✔ Once this button has been clicked, you should see a confirmation message that the destination has been updated.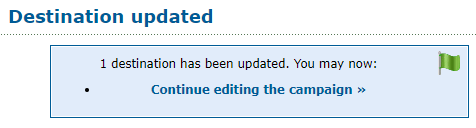
Changing the status of a destination ensures that the campaign is no longer calling the destination. This can be useful if a client calls in regarding what the bulk dialer call addresses.
Delete a Destination
When a phone number no longer needs to be called through the bulk campaign, the obsolete destination can be deleted.
1. Select a phone number and click the Delete selected button to remove it from the bulk dial campaign.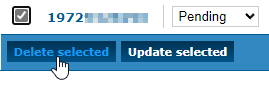
2. On the prompt that appears, click the OK button.
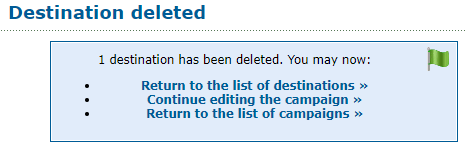
✔ You should see a confirmation message stating that the destination has been deleted.