Enswitch - Page Groups
Discover how you can create page groups to allow your users to page different groups of devices instead of having to page all devices at once with their Page button.

Written by Val Campos
Updated at June 28th, 2024
Table of Contents
If you are using desk phones through our Enswitch phone system, you may have noticed that there is a Page button that can be pressed to page all phones that are on the same network. This is done through multicasting. If different groups of phones should be paged by themselves, then more multicast paging channels can be programmed onto those phones.
As an alternative to multicast paging, the Enswitch system can page phones using phone calls. When a page group is dialed, the phones it has set as destinations will receive calls. When a page call is answered by the devices, the devices will play the audio of the page.
Multiple page groups can be created for different groups of devices. These page groups can have feature codes created to allow them to be dialed. This guide will explore how you can create a page group and allow your users to dial that page group when needed.
Implement a Page Group
As an Enswitch admin, you can create page groups that page specific groups of devices. To create one, the following will need to be completed:
- Create a page group.
- Add devices as destinations for the page group.
- Create a feature code to allow the page group to be dialed.
- Add a speed dial that dials the page group's feature code.
Step 1: Create a Page Group
To allow a group of devices to be paged, a page group will need to be created.
To create a page group…
- Navigate to Features → Page groups.
- On the Page groups page, click the New >> button.

- In the New page group menu, fill in the following information:
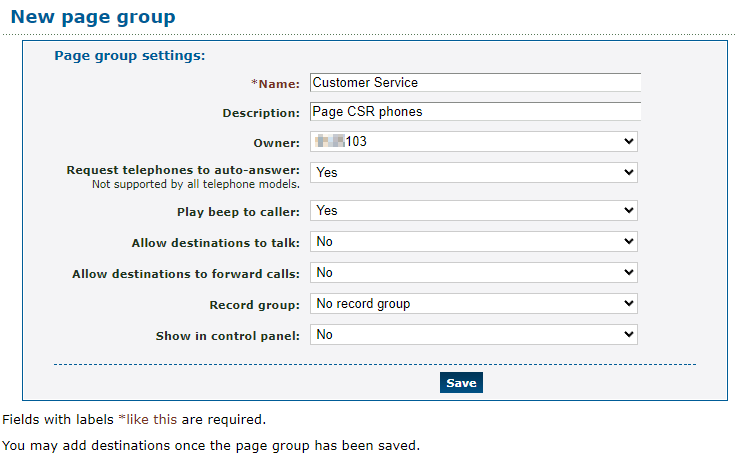
| Setting | Description |
|---|---|
| * Name | Type a name to identify the page group with. |
| Description | Type a note describing the page group, such as its purpose or the type of phones being paged. |
| Owner | If needed, select a user that should be able to view and edit the page group using their version of the web portal. |
| Request telephones to auto-answer | Have the system prompt the phones to answer the page automatically. If auto-answer is not an option for the device (such as the mobile app or a cellphone), then the user will need to answer the page call on their device. |
| Play beep to caller | Select whether or not a beep sound should be played before the paged devices can hear the paged message. |
| Allow destinations to talk | Select whether or not to let the paged devices talk to the device doing the page. |
| Allow destinations to forward calls | Select whether or not the paged devices should be able to forward the page call elsewhere. |
| Record group | If the message being paged should be recorded, select a record group to store the recording in. |
| Show in control panel |
Select whether or not this page group should be shown on the Control Panel page. Quick Tip: Showing this page group will allow users that use the Control Panel to drag and drop a call onto the page group for transferring. The call that is transferred to the page group will initiate a page to the devices in that page group. |
- Click the Save button.

✔ Once you save, you should see a confirmation message stating that the page group has been saved.

Now that a page group has been created, devices can be added to the page group.
- If needed, repeat steps 2-4 for each page group needed.
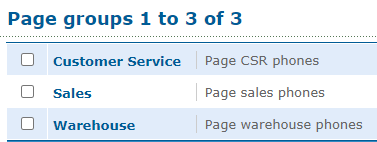
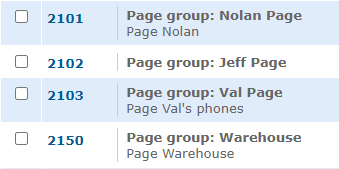
✔ You should now have a list of your created page groups.
Step 2: Add Devices to the Page Group
When a page group is added and configured, it can have devices added to it. Once a device has been added to a page group, it will receive a page when a user dials the page group it is a part of.
To add devices as destinations for a page group…
- If you are on the Page groups page, click the name of the page group that needs devices added to it.

Quick Tip: If the page group was just saved, you can click Add a destination >> instead.

- ln the Destinations section, click the Add a destination >> button.

- In the New destination menu, do one of the following:
- If you are adding a user's desk phone or mobile app, select Telephone line and the extension number of the device that should be paged in this page group.

- If you are adding an agent's telephone number, select Number and type the agent's telephone number.

NOTE: If you type a telephone number, it is recommended to include the country code to avoid any dialing issues.
For example, if this telephone is from the U.S., I would need to add a 1 to the beginning of the phone number.
- If you are adding a user's desk phone or mobile app, select Telephone line and the extension number of the device that should be paged in this page group.
- Click the Save button.

✔ Once you save, you should see a confirmation message stating that the destination has been saved.
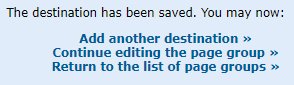
• If needed, click Add another destination >> and repeat steps 3 and 4 to add another phone to the page group.
• To edit the settings of the page group, click Continue editing the page group >>.
• To view all page groups, click Return to the list of page groups >>.
Step 3: Create a Feature Code for the Page Group
Now that a page group has been created and has destinations added to it, you can create a feature code that dials that page group. This will allow your users to dial to page the phones in a page group. Once a page group's feature code is dialed, a page will be started to the devices in the page group.
To create a feature code that dials a page group…
- Navigate to Features → Feature codes.
- Scroll to the bottom of the Feature Codes page and click the New >> button.

- In the New feature code menu, fill in the following information:
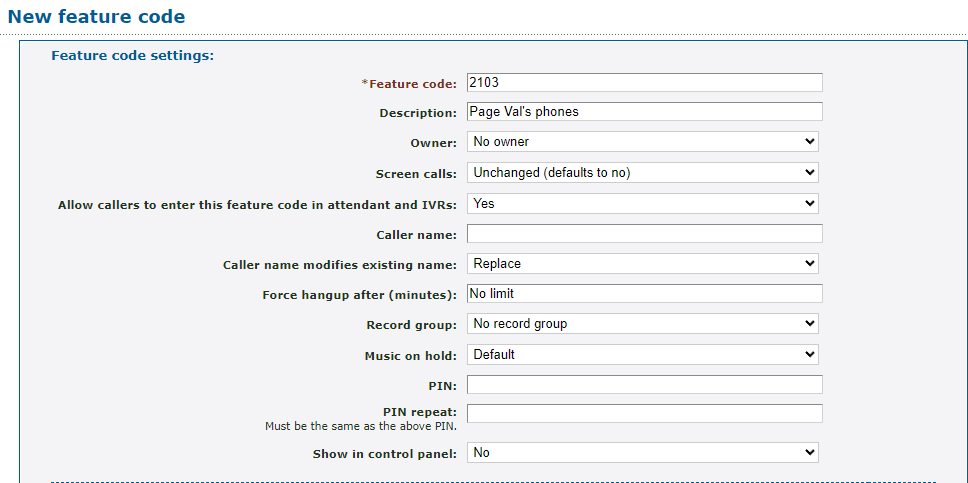
| Setting | Description |
|---|---|
| * Feature Code |
Type in a code that will be dialed on a SpectrumVoIP provided phone or softphone to call the page group. Quick Tip: SpectrumVoIP technicians usually name this feature code as a 2 in front of the user's 3-digit extension number. DANGER: Do NOT use a N11 number, such as 911, 211, or 411. |
| Description | Type a note that will be displayed alongside the feature code in the list of feature codes. |
| Owner | If needed, select a user that should be able to view and edit the feature code in their web portal. |
| Allow callers to enter this feature code in attendant and IVRs | Select whether or not callers in an auto attendant or IVR menu should be able to dial this feature code. |
|
PIN & PIN repeat |
If needed, set a digital code that can keep the use of a feature code secure. If only certain users should be able to dial this mailbox, setting up a PIN may be useful. |
| Show in control panel |
Select whether or not this feature code should be shown on the Control Panel page. Quick Tip: Showing this conference bridge will allow users that use the Control Panel to drag and drop calls onto the feature code for transferring. |
- In the Route calls to section, use the Default destination dropdown to select Page group and then select the name of the page group.

- Click the Save button.
-
Repeat steps 2-5 for each feature code needed for your page groups.
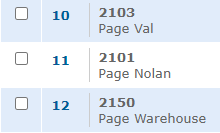
✔ You should now see your feature codes for paging listed in the Feature Codes page.
Step 4: Add a Speed Dial to a Phone
Once you have feature codes created for dialing page groups, you can create speed dials that dial those feature codes. Using Enswitch's Speed Dials feature, you can create these dialable speed dials and add a button for them to your users' desk phones.
To create a speed dial that dials a page group's feature code…
- Navigate to Features → Speed dials.
- On the Speed dials page, click the New >> button.
- In the New speed dial menu, fill in the following information:

- Click the Save button.
✔ Once you save, you should see a confirmation message stating that the speed dial has been saved.

-
Repeat steps 2 and 3 for each speed dial needed for the page groups.
✔ You should now see the speed dials listed.
- Once every speed dial has been created, have your users reboot their phones to see these new buttons.