Custom Call Center Agent Statuses
Learn how to create more custom status indicator for your call center agents to easily track their current availability for Call Center reporting and monitoring..

Written by Adrian Angwenyi
Updated at August 27th, 2025
Table of Contents
Scope: A user scope of a Call Center Supervisor or above, will be able to add and manage the statuses agents can select from when going offline temporarily.
View and Manage Custom Statuses
By using custom statuses that differ from Stratus' pre-defined statuses (e.g., Lunch, Break, and Meeting), call center supervisors can further organize how their agents report their status for call center statistics and reporting.
To add more statuses for agents to use, you will need to go to the Call Center Settings page. You can do so by doing the following:
- Navigate to the Call Center page.

- On the Call Center page, click the Settings button.

- Go to the Custom Statuses tab.

In the Call Center Settings menu, Call Center supervisors and higher can either add new statuses and edit or delete current statuses.
Add a Status
In the Add a new agent status box, type the name of a status for your agents to use and click Add.
Quick Tip: There is a maximum of 8 custom statuses that can be added. Each status can be no longer than 20 characters.
All custom statuses indicate that the user is "offline" on reports.
✔ After you have added more custom statuses, you should have a list of statuses that your agents can now view while using their Call center page or the StratusHUB desktop app.
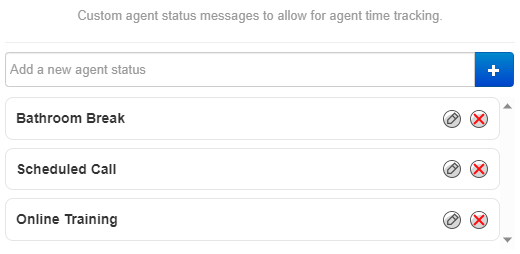
Your agents can now select these statuses when they are making themselves unavailable for calls.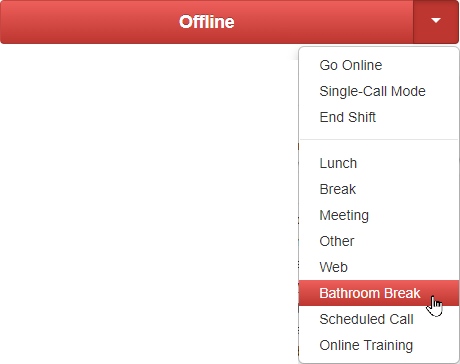
Edit a Status
To adjust the name of a status, click the Edit  icon next to the status and type out the new name.
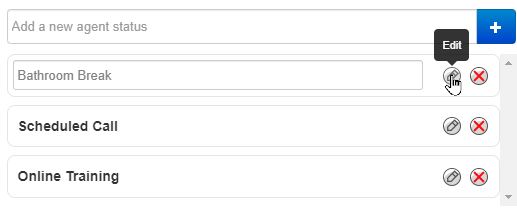
Delete a Status
When a status is no longer needed or rarely used, you can remove it at any time. To remove a status to prevent its use, click the Delete  icon next to the status.

Use Call Center Statuses as an Agent
Custom statuses are available to agents in two places:
- In the Call Center page.
- On the StratusHUB desktop app.
Use the Stratus Web Portal
In the Call Center page, agents can change their call center status by clicking the arrow next to Online and selecting a Status from the drop-down: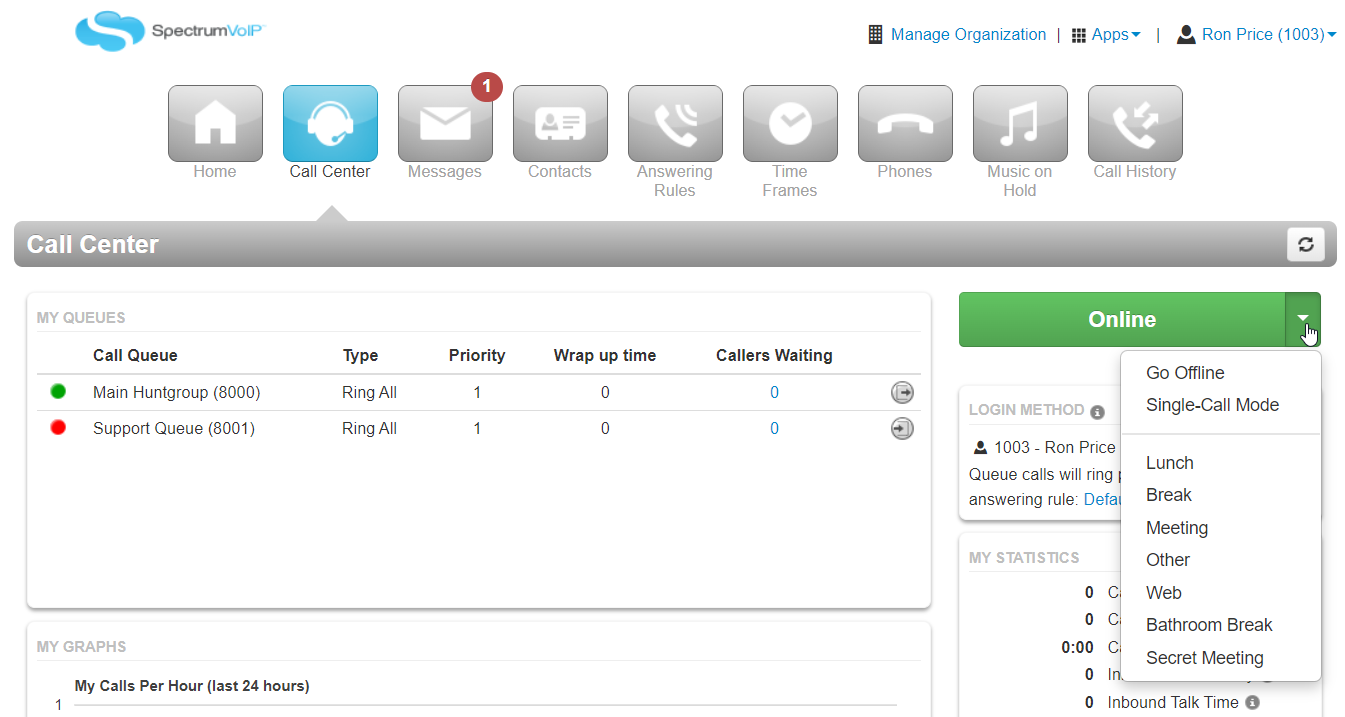
Use StratusHUB
StratusHUB users are also able to change their status while using it to handle calls from their PC. A StratusHUB user can change their status by…
-
Clicking the Call Center Status icon at the top-right.

- Selecting the status they want to use from the list shown.

Quick Tip: Users will see the color of the headset change to match the status they are in.
These status colors and what they indicate include the following:
Color Example Status Green The user is set as Online so that they can handle calls from the queue. Red The user is currently set as Offline. They will stop receiving calls from call queues until they go back Online. Yellow The user's status is set as Lunch.
They will be set as unavailable for calls in the call queue until they go back Online. They can still receive direct calls and make outbound calls.Orange 
Their status is set as Break.
They will be set as unavailable for calls in the call queue until they go back Online. They can still receive direct calls and make outbound calls.Purple 
Their status is set as Meeting.
They will be set as unavailable for calls in the call queue until they go back Online. They can still receive direct calls and make outbound calls.Dark Blue 
The user is currently set as unavailable using a custom status that an admin has created.
They will be set as unavailable for calls in the call queue until they go back Online. They can still receive direct calls and make outbound calls.Grey Their call center status is set as Other.
They will be set as unavailable for calls in the call queue until they go back Online. They can still receive direct calls and make outbound calls.


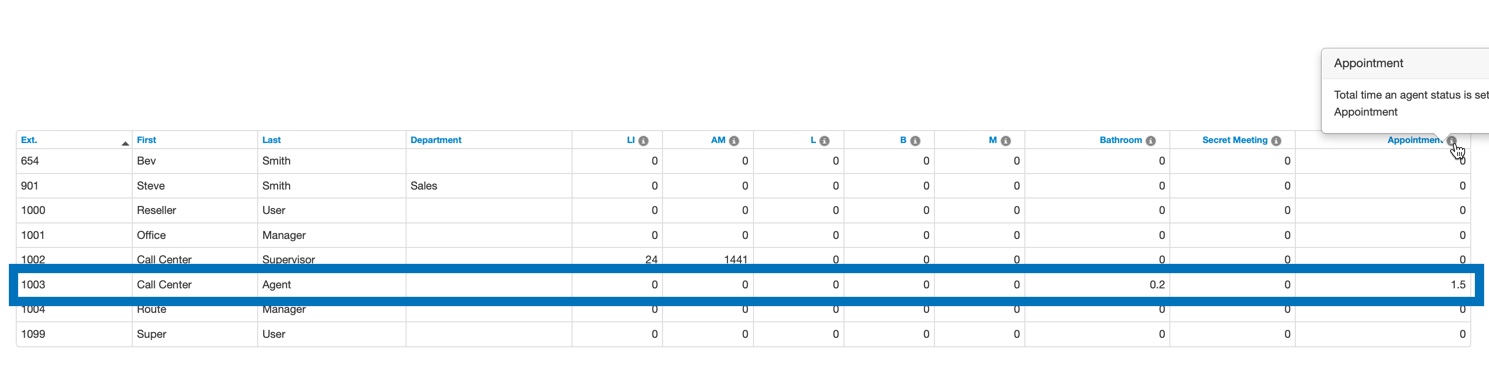
View Agent Availability Reports
Office Managers, Site Managers, and Call Center Supervisors can review and report on the time spent in each custom state.
To do so…
- On the Call Center page, click the Reports button.

- Navigate to the Agent Availability tab.

- Click the Columns button and select Table Columns to show from the dropdown.

✔ The Agent Availability reporting table will update to display the table columns selected in the Table Settings.