Record a Call
Discover how you can record portions of a call using your desk phone or the Stratus web portal.

Written by Adrian Angwenyi
Updated at March 3rd, 2025
Table of Contents
REMINDER: Some countries and states impose laws and regulations on recording calls.
We recommend requesting consent from call participants before recording any call. It may also be a good idea to have a message set up for your organization that warns callers that their call may be recorded.
Please consult with the regulatory experts in your company before using this feature.
Note: To learn more about our policies regarding using the call recording features of our products, please read this article.
Start Recording a Call
You can record calls using your desk phone, the Stratus web portal, your StratusHUB Desktop App, and your SpectrumVoIP Stratus Mobile App.
Use the module below to explore the different ways you can start and stop recording during an active call:
Dial a Code
Feature codes can be dialed to start and stop recordings of calls.
| Feature Code | Action | Example |
|---|---|---|
| *98 | START Recording Call | Dial *98 during an active call to start recording. It is recommended to get consent from a caller before recording a call. |
| *99 | STOP Recording Call | Dial *99 to stop recording an active call. |
Stratus Call Popups
While you are on an active call in the web portal, you can click the Record  button to toggle the recording of this call on and off.

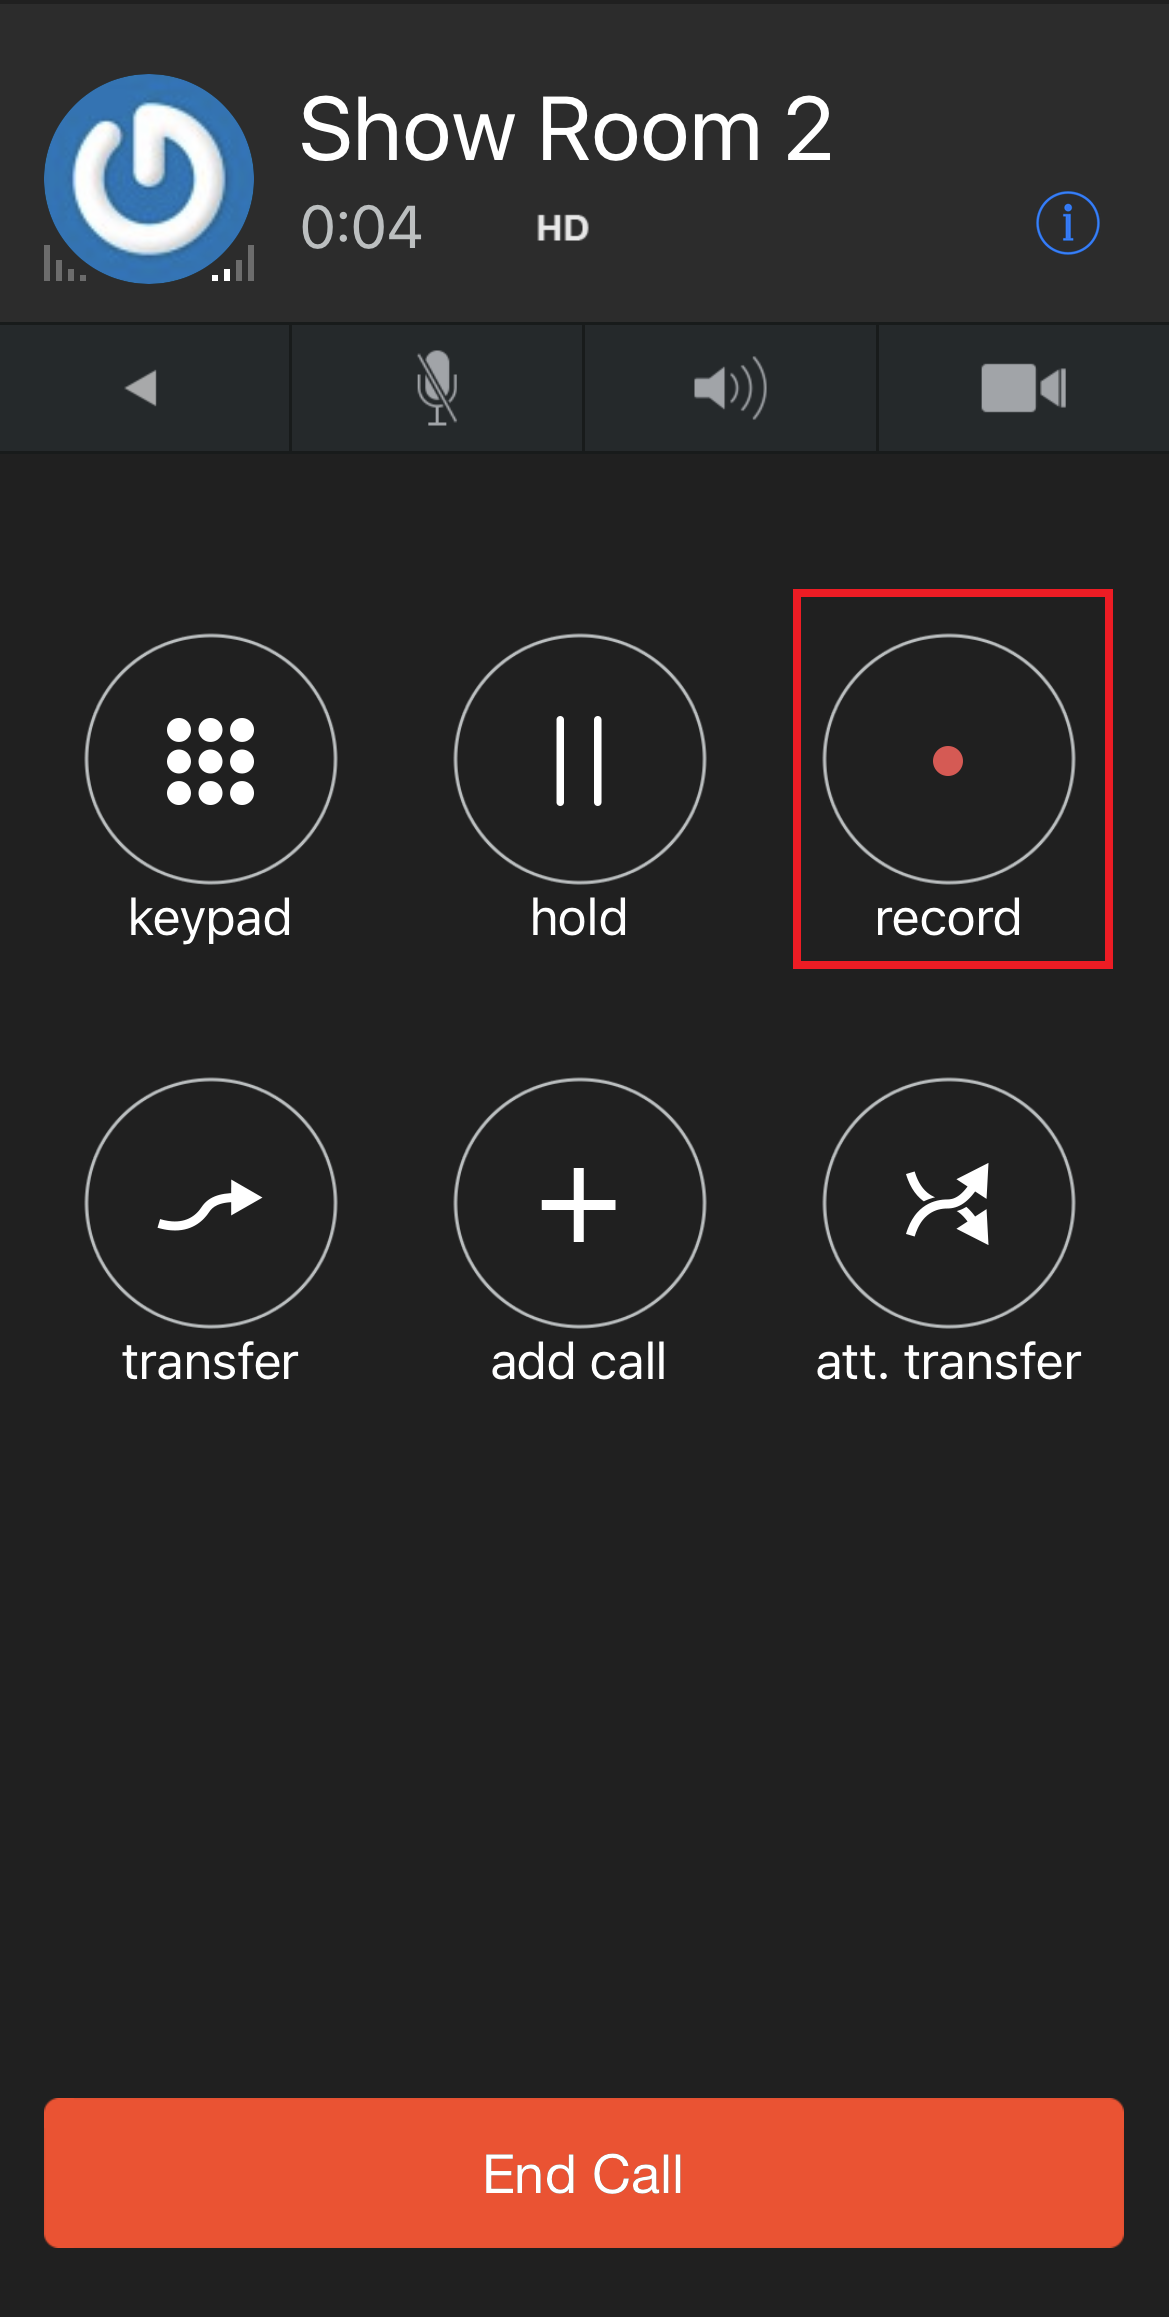
StratusHUB
The SpectrumVoIP Desktop App will have buttons available that you can use to control how a call is recorded during an active call.
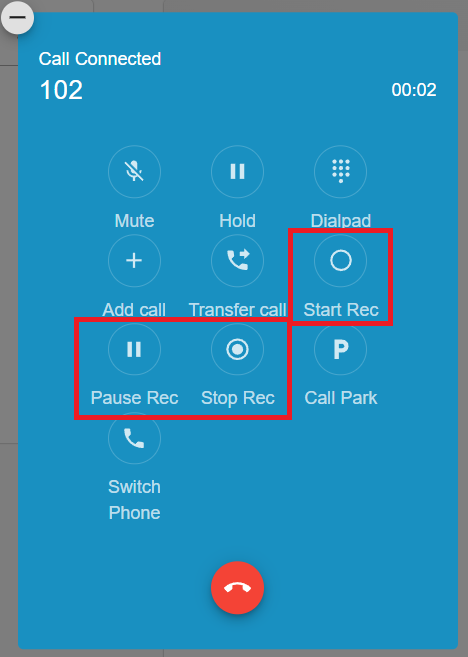
Start Recording a Call
Click Start Rec to start recording a call.
When clicked, a REC notice  will appear above the duration of the call.
Pause and Resume a Recording
Click Pause Rec to pause your recording of the call.
The REC notice will update to show a pause symbol:
Click Resume Rec to continue recording the call.
Stop Recording a Call
Click Stop Rec to stop recording a call.
The REC notice  will disappear:
Stratus Mobile App
To start recording an active call on your Stratus mobile app, tap the record  button on the call screen.
Touch the record icon again to stop the recording.
Lock Recordings to Prevent Deletion
When an auto-delete recording duration is set, the recordings are deleted once expired. However, by enabling Prevent auto-delete you can lock some important recordings to exclude them from being deleted.
To lock the recording from being deleted:
1. Touch the History  tab.
tab.
2. Touch the Information  icon beside the name or phone number you want to retrieve the recording.
3. On that recording entry, touch Settings  → Prevent Deletion.
✔ A lock (1) will display on the entry to indicate it is excluded from being deleted.
Quick Tip: To unlock the recording, tap Settings (2) → Allow Deletion (3).
Access Call Recordings
WARNING: If call recordings are enabled, SpectrumVoIP will host the recordings in the web portal for 30 days.
After that time has passed, the call recording will no longer be available to listen to or download.
This time can be extended at an additional cost; please contact our Billing department for more information on pricing.
Quick Tip: It is possible to have call recordings pushed to a virtual drive.
To learn more about pushing call recordings to a virtual storage medium, check out this guide.
You can also contact our support team to implement this change.
These call recordings can be accessed through the Call History page of the Stratus web portal, the SpectrumVoIP Desktop App, and the Stratus Mobile App. Use the module below to explore accessing call recording using these methods:
The Stratus Web Portal
IMPORTANT: If call recordings are enabled, SpectrumVoIP will host the recordings in the web portal for 30 days. After that time has passed, the call recording will no longer be available to listen to or download. This time can be extended at an additional cost.
If you would like to extend your call storage time for your account, you can speak with our Billing team by calling (469) 429-2500 and selecting Option 2 or emailing billing@spectrumvoip.com.
Another alternative is to have all call recordings pushed to a virtual drive as seen in this guide.
If you would like to push call recordings to cloud storage or a virtual drive, contact our technical support team by calling (469) 429-2500 and selecting Option 4, emailing support@spectrumvoip.com, or sending in a ticket using our knowledge base or our support website.
Quick Tip: It is possible to have call recordings pushed to a virtual drive.
To learn more about pushing call recordings to a virtual storage medium, check out this guide.
You can also contact our support team to implement this change.
1. Navigate to the Call History page. 
NOTE: Your call history view may differ depending on your User Scope.
For example, users set as Office Mangers will be able to view all call recordings on the domain, while users set as Basic User will only be able to view their own calls.
2. The Call History can be filtered by different parameters such as phone number, user, or date/time. Click the Filter button to filter what calls are shown. 
3. In the right-hand menu of the call history listing, there will be a recording icon to listen to the call and a download icon to download the recording. Your selection of buttons may differ depending on your user scope. 
– If a Call does not have a recording, the icon will be grayed out and will display No Recording when hovering over it; as shown below.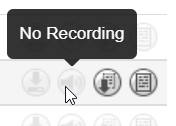
Note: If you see No Recording when call recordings should be enabled, please contact our technical support team to ensure your account has call recordings enabled.
– If a call has a recording that is still being processed, you might see Pending Conversation; as shown below. For these, simply wait for the call to be processed and it will eventually become available to play and download. 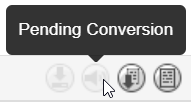
Quick Tip: Call recordings can take 30 minutes or longer to show in the Call History page.
It is recommended to wait an hour and then refresh or visit the Call History page again.
4. When a recording is available, the icons will be active and hovering over it will display Download or Listen; as shown below.
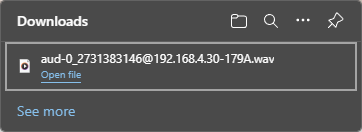
– Clicking the Download ![]() icon will save the audio file to your computer:
icon will save the audio file to your computer: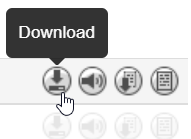
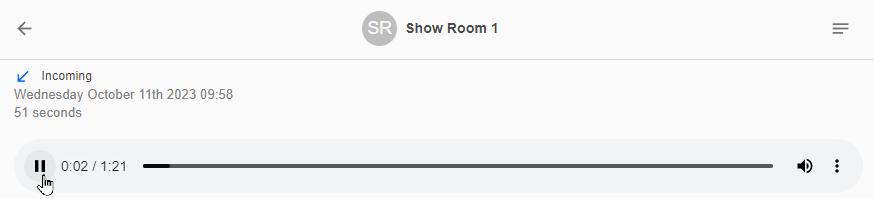
– Clicking the Listen ![]() icon allows you to play the recording.
icon allows you to play the recording. 
– If your admin has had recording transcriptions enabled, the Listen ![]() icon will pull up the Call Transcript menu instead.
icon will pull up the Call Transcript menu instead. 
– There are also options available (volume control and playback speed) for adjusting how the music is played back.
The StratusHUB Desktop App
When you have a call that was recorded, you can listen to and download that call using the desktop app.
To download the call's recording…
1. Select the call that was recorded.
2. Click the Options icon.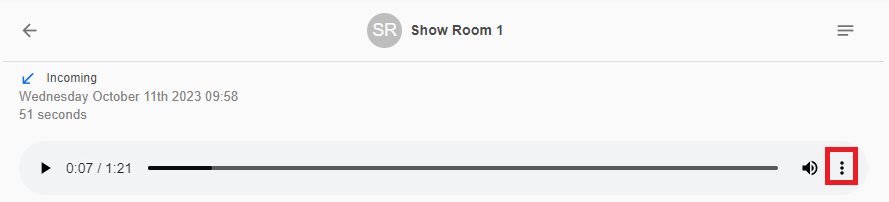
3. Select Download to download an audio file of the call to your PC.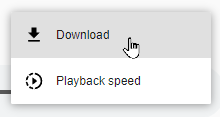
✔ You should see the call's audio file downloaded to your PC.
The Stratus Mobile App
Once the calls are recorded, you can retrieve them in the History tab.
To access a call recording:
1. Touch the History tab.
2. Touch the Information icon beside the name or phone number you want to retrieve the recording.
Quick Tip: The Recording  icon shows that the call log has recording(s).
3.Touch the Play Record  (1) button to listen to the recording.
4. Touch the Pause  button to pause the recording.
5. To manage the recording, touch the Settings (2) icon on that recording entry.
✔ A list of recording settings will display:
– Delete - Deletes the recording.
– Send By Email - Sends the recording to someone else using email.
– Share - Sends the recording to someone else using other applications.
– Prevent Deletion - Keeps the recording from being deleted by the auto-delete duration setting.