Enswitch - Record Groups
Discover how you can create a record group and assign a record group to allow calls to be recorded and stored through your Enswitch web platform.

Written by Val Campos
Updated at October 28th, 2025
Table of Contents
What is a Record Group?
Call recordings that are created have to be stored in Record Groups. Multiple record groups can be created for different purposes, and multiple extension numbers (also known as telephone lines) can be assigned to a recording group. Phone numbers can also be assigned a record group so that calls that pass through the phone number are recorded and stored.
Implement a Record Group
To ensure that a user's calls are being recorded, the following will need to be done:
Once a Record Group has been created and assigned, calls can start being recorded through the telephone lines that have record groups selected in their settings.
Create a Record Group
To create a Record Group for storing different recordings from telephone lines…
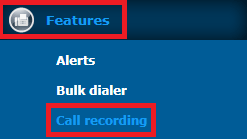
- Navigate to Features → Call recording.
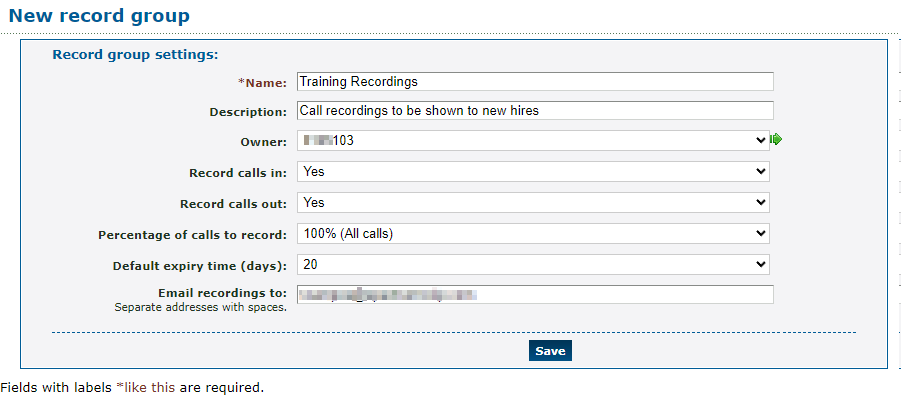
- In the New record group menu, configure the following information:
| Option | Description |
|---|---|
| * Name | Type a name to identify this record group with. Some businesses name record groups after the purpose of the call or the department handling the call. |
| Description | Type a brief description about this record group |
| Owner | If needed, select a user that should be able to view and edit this record group in the Enswitch web portal. |
|
Record calls in & Record calls out |
Set whether or not the record group should record inbound and outbound calls. |
| Percentage of calls to record | If needed, select the percentage of calls that should be recorded. |
| Default expiry time (days) | Select how many days the record group should store any expired recording before deleting the recording. Individual recordings can have their expiry time adjusted once they have been created and stored. |
| Email recordings to | If needed, type a valid email address that should receive a copy of any new recordings stored in this record group. |
- Click the Save button.
-
Repeat steps 2 and 3 for each record group.
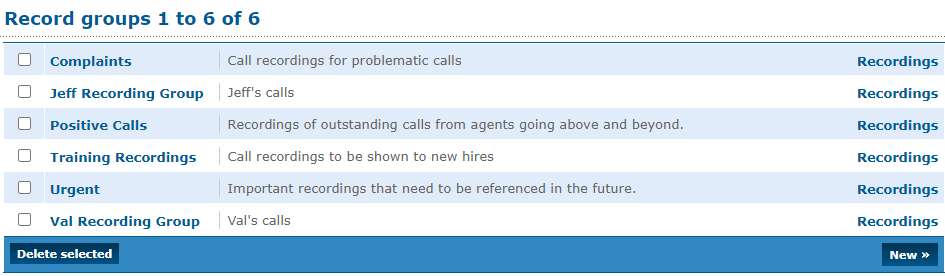
✔ Once you are done, you should have a list of different record groups that can store recordings for different people and purposes.
Assign a Record Group
Once a Record Group has been created, it will need to be assigned to a function to allow calls to start being recorded and stored via the record group. A record group can be assigned for either a phone number or a telephone line.
Assigning a record group to a phone number will ensure that calls that are made by or made to the phone number are recorded and stored according to its record group's settings.
Quick Tip: If a call goes through multiple phone numbers that use different record groups, the call would be recorded and stored to all record groups that are designated to the phone numbers.
Assigning a record group to a telephone line would have calls that are handled by the specific device recorded and stored in its selected record group. This can be useful for ensuring that a call that is made directly to a user's extension number by another user is recorded.
To a Number
A phone number can be assigned to a record group to ensure that calls going through or originating from the phone number are recorded and stored in its record group.
To assign a record group to a phone number…
1. Navigate to Features → Numbers.
2. Click the phone number that should be assigned to a record group.
3. In the phone number's settings, use the Record group dropdown to select the name of the record group that should store calls that route through this phone number.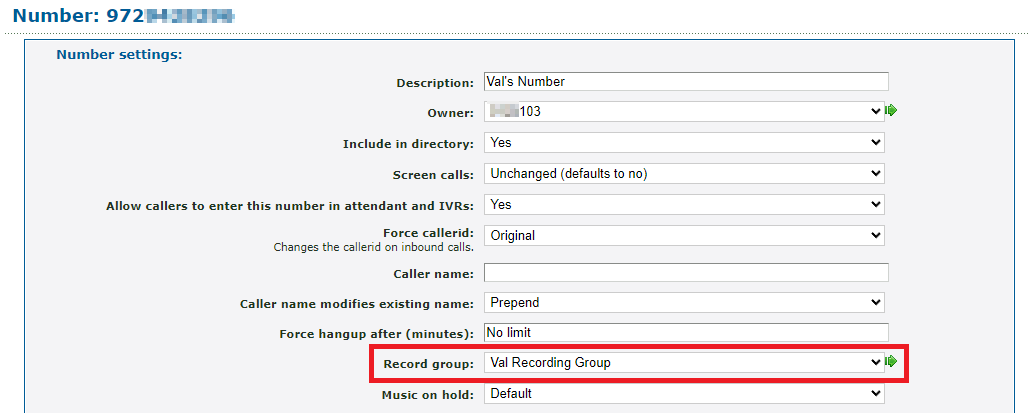
4. Click the Save button.
✔ You should see a confirmation message saying that the number has been saved.

Now calls going through this phone number will be recorded and stored in the selected record group according to the record group's settings.
To a Telephone Line
Once a Record Group has been created, telephone lines of users can be assigned to a record group to have their calls recorded and stored in that particular record group.
To do so…
1. Navigate to Features → Telephone lines.
2. Select the number of the device that should be part of a record group.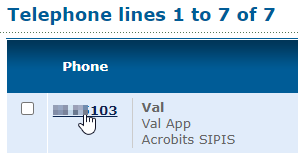
3. Scroll down to the Line settings section and use the Record group dropdown to select the name of the record group to add this extension number to.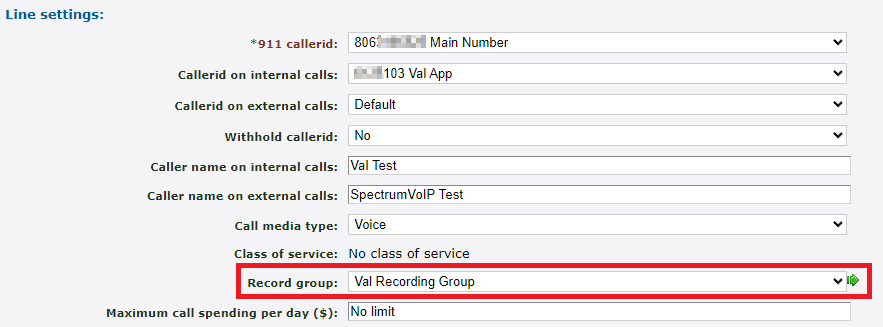
4. Scroll down to the bottom of the page and click the Save button.
✔ You should see a confirmation message saying that the telephone line has been saved.

Now calls handled by the device registered to this telephone line will be recorded and stored in the selected record group according to the record group's settings.
Manage Call Recordings
Once a record group has been created and then assigned, the telephone line(s) assigned to the record group will start recording calls which will then be stored in the record group. Once a recording is stored, it can be viewed and managed in the record group.
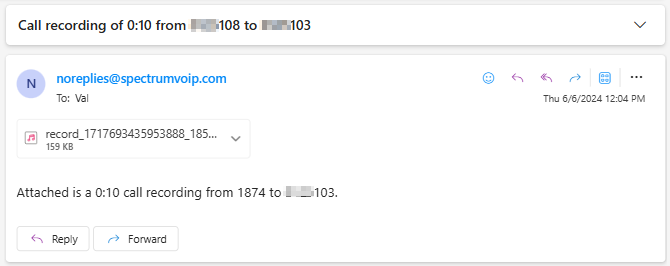
Quick Tip: If you have set an email address to receive notifications for recordings in a Record Group, that email address should receive an email from noreplies@spectrumvoip.com containing the call recording and information about the recording, such as its duration and the parties involved in the call.
To manage call recordings in a record group…
- Navigate to Features → Call recording.
- Click Recordings next to the record group storing the recording that needs to be referenced.

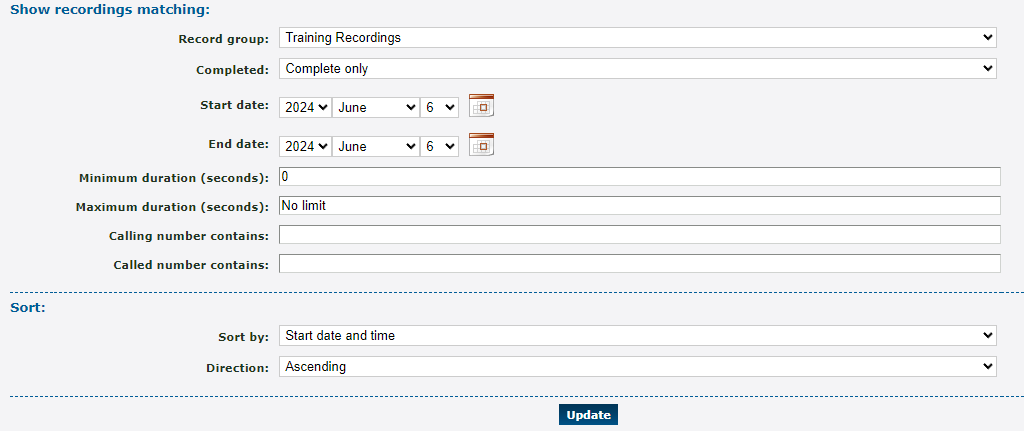
- On the Recordings page, use the menu to filter and sort the recordings that need to be managed and click the Update button.
- To listen to a call recording, click Play via call next to the recording.

- In the message that appears, type the extension number that should receive the call and click the OK button.
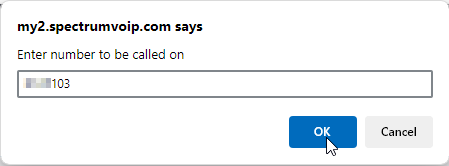
✔ The device registered to that extension number should receive a call that will be play the recording when answered.
- While viewing a recording, you can also do the following:
Download
If needed, call recordings can be downloaded for safe keeping.
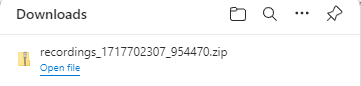
To download call recordings, select the recordings that need to be downloaded to your PC and click the Download selected button

The downloaded call recording(s) can be stored, extracted, listened to, and shared as needed.
Copy or Move
If you have multiple record groups, you can copy or move a recording within one record group to another record group.
To copy or move a recording to another record group…
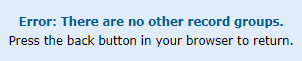
1. Select the recording(s) that need to be copy/moved and click the Copy or move selected >> button.

WARNING: If there are not any other Record Groups created, you will see this error:
2. In the Copy or move recording menu, do the following:
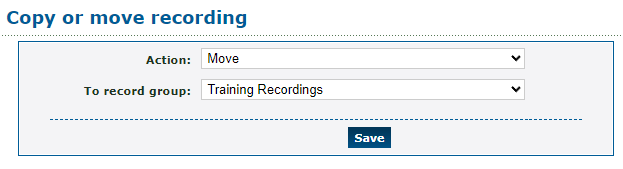
• Action - Select whether to copy or move the recording.
• To record group - Select the name of the record group to copy/move the recording to.3. When you are ready, click the Save button.
✔ You should see a confirmation message telling you that the recording has been copied or moved.
That recording can now be viewed in the record group that was selected.
Delete
Manually Delete a Recording
When a call recording is no longer needed, it can be deleted from a record group.
1. Select the recording(s) that should be deleted and click the Delete selected button.

2. In the message that appears, click the OK button.
✔ You should see a confirmation message telling you that the recording has been deleted.

The Expiry Date of Recordings
Call recordings are automatically deleted according to the record group's set Default expiry time setting. If needed, a call recording's expiry date can be adjusted to ensure it is automatically deleted on a certain date that differs from the default.
To set the expiry date of a specific recording…
1. Select the recording(s) that need a specific expiry date and click the Set expiry for selected >> button.

2. In the Set recording expiry time menu, select the date that the recording should expire.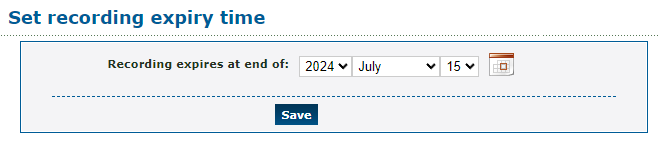
3. When you are ready, click the Save button.✔ You should see a confirmation message telling you that the expiry time has been set.
Once that date is reached, the recording will be deleted. Before the date approaches, you can consider downloading or deleting the recording at an earlier date.
Export
If you need to keep record of the call recordings that have been stored, you can export the shown recordings as a .csv spreadsheet.
To do so,
1. Filter the call recordings that should be shown using the top menu.
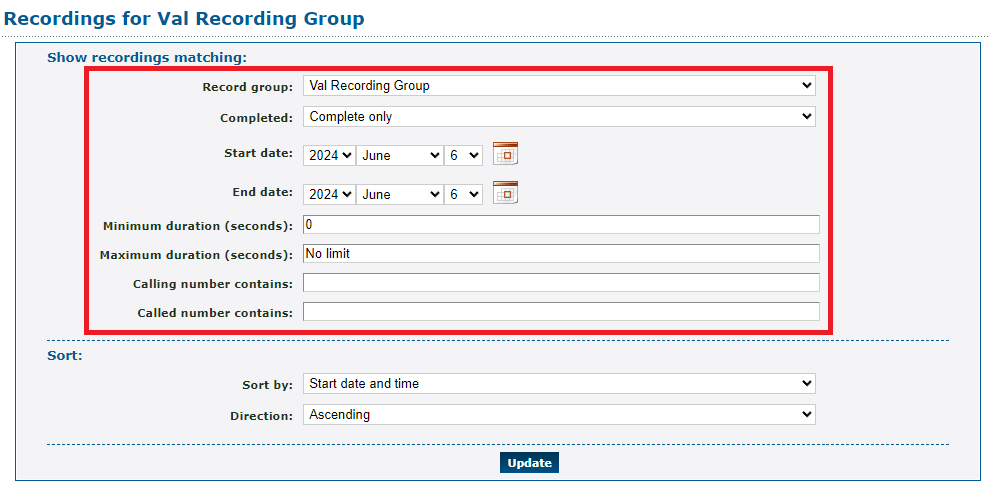
2. Once you have the correct recordings shown, click the Export as .csv button.
✔ A spreadsheet full of the recordings' data will be downloaded to your PC.
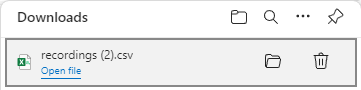
You can open, edit, print, and share this spreadsheet as needed.