Enswitch - Your Conferences Page
Learn more about how you can create and manage conference bridges as a Basic Enswitch user with the Conferences page of your web portal.

Written by Val Campos
Updated at August 7th, 2024
Table of Contents
In many businesses, conferences are an essential means of communicating with multiple remote employees and customers at once. A conference bridge allows multiple people to call into the system and talk together.
If you are set as the owner of a conference bridge, you can view and edit it using the Conferences page of your web portal. You can also create new conference bridges for different purposes. 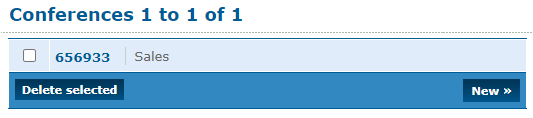
View the sections below to learn more about creating a conference bridge and how your conference's participants can join and participate in a conference.
Create a Conference Bridge
You can use your web portal to create a conference bridge on the Conferences page. To ensure that one is properly set up, the following needs to be completed:
Step 1: Create a Conference Bridge
1. Log into your Enswitch web portal.
2. Navigate to Features → Conferences.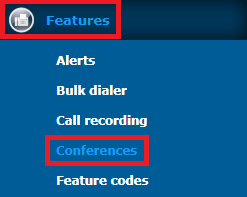
3. On the Conferences page, click the New >> button.
4. In the New conference menu, fill in the following information: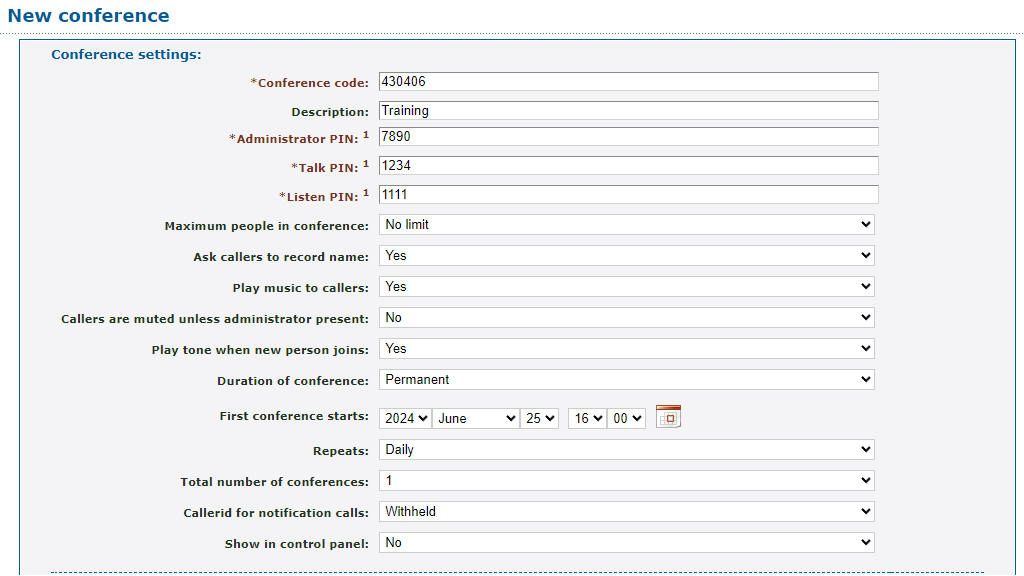
| Option | Description |
|---|---|
| * Conference code |
This is the code that people calling into the conference will need to dial to join the correct conference. By default, a unique, 6-digit code is randomly generated. If you have a preference, type a unique series of numbers. |
| Description | Type a brief note to display alongside the conference code on the Conferences page. |
| * Administrator PIN | Type a series of numbers that an administrator would need to be dial. This PIN will only be needed if callers are prompted to enter a PIN while dialing into the conference. |
| * Talk PIN | Type a series of numbers that need to be dialed by participants that should be able to talk in the conference call. This PIN will only be needed if callers are prompted to enter a PIN while dialing into the conference. |
| * Listen PIN | Type a series of numbers that need to be dialed by participants that will only be able to listen in a conference. This PIN will only be needed if callers are prompted to enter a PIN while dialing into the conference. |
| Maximum people in conference |
Select the maximum number of people that should be allowed to join the conference call. Note: When a caller attempts to join the conference after it is full, the system will play an error message before disconnecting the caller. If there should not be a maximum, select No limit. |
| Ask callers to record name | Enable to this to require participants in the conference record their name before they are accepted into the conference call. |
| Play music to callers | Select whether or not to play music for while the first person that has joined a conference waits for other participants to join. |
| Callers are muted unless administrator present | If needed, set the conference to keep callers muted until the conference's administrator joins the call. |
| Play tone when new person joins | Select whether or not a tone should be played when new people join the conference. |
| Duration of conference | If needed, select how long this conference call should be able to be active. If there should not be a time limit, select Permanent. |
| First conference starts | Select the date and time that this conference should take place. |
| Repeats |
If this conference should take place on a recurring basis, select the frequency (e.g., Daily, Weekly, 2 weeks, Monthly, 2 months) that this call should take place. Note: The day and time that would be used is referenced from the First conference starts option. |
| Total number of conferences |
Select how many conferences should take place before the conference call stops repeating. For example… If a conference is set to start on a Monday and repeat daily for a total of 5 conferences, this conference would stop automatically starting a conference call on Friday. |
| Callerid for notification calls |
By default, the system will withhold any caller ID information when the system places calls to the conference's participants. Note: This can help prevent called participants from rejecting the call by mistake because they think they are receiving a spam call. |
| Show in control panel |
Select whether or not this conference bridge should be shown on the Control Panel page. Quick Tip: Showing this conference bridge will allow users that use the Control Panel to drag and drop calls onto the conference bridge for transferring. |
Note: The scheduling options (i.e., the “First conference starts”, “Repeats”, and “Total number of conferences” options) are not needed if this conference bridge will be called.
5. Click the Save button. 
✔ Once you save, you should see a Confirmation message saying that the conference has been saved.
NOTE: It is recommended to save BEFORE adding participants in the bottom section of the page.
Sometimes adding participants before initially saving can cause the conference bridge to not save the extension numbers, telephone numbers, and email addresses entered.
Click Return to list of conferences >> to go back to the Conferences page.
Step 2: Add Participants
If a conference bridge is set up with the “First conference starts”, “Repeats”, and “Total number of conferences” settings configured, the extension numbers, telephone numbers, and email addresses of its participants can be set ahead of time so that they can be notified/called when the conference takes place.
NOTE: If participants are expected to call in using a call in number, feature code, or an IVR menu, then putting the contact information of people in this section is not necessary.
To add the contact information of participants for scheduled conferences…
1. On the Conferences page, click the conference code of the conference bridge that needs participants added ahead of time.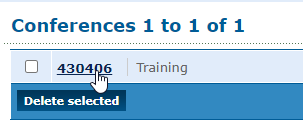
2. In the Notify the following when conference starts section, type the telephone lines and email addresses of the participants that should receive calls and email notifications for this conference.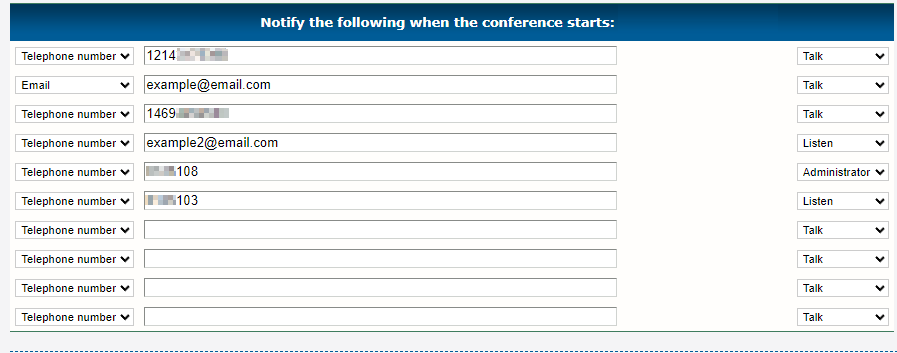
3. Click the Save button.
✔ When the time and date set for the conference (according to the “First conference starts” and “Repeats” settings) is reached, the conference bridge will send the extension numbers and telephone numbers a call.
If there is a person's email listed, they will receive an email notification telling them how they can join the conference.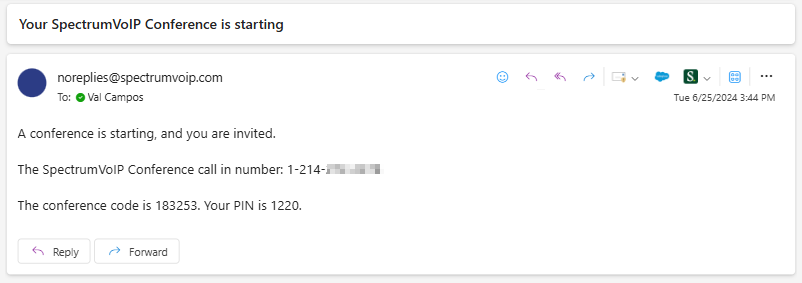
Step 3: Route Calls to a Conference Bridge
Once you have created and configured a conference bridge, there needs to be a way to contact it. You have several options for ensuring calls are routed to the conference bridge. Use the following sections to explore the most common methods use for allowing callers to call into a conference bridge:
Conference Call In Number
A phone number that you are set as the Owner for can be set up as a call-in number for a conference bridge. This can make it easy for callers to dial into conference calls.
To change a phone number's destination to a conference bridge…
1. Navigate to Features → Numbers.
2. Click the phone number that should be dedicated to the conference bridge.
3. Scroll down to the Route calls to section and use the Default destination dropdown to select one of the following options:
• Conference, administrator - Allow callers to join the conference as an Administrator.
• Conference, ask for PIN - Have the callers enter the Administrator PIN, Listen PIN, or Talk PIN in order to join the conference as their respective role.
• Conference, listen - Allow callers to join the conference as listeners.
• Conference, talk - Allow callers to join the conference with the ability to listen and talk.
4. Click the Save button. 
✔ You should see the phone number listed with the conference bridge destination shown.

5. Place a test call to this phone number to confirm that you can access the conference bridge.
Conference Feature Code
A feature code can be created that internal user can dial on their desk phones to call into a conference bridge. If this feature code is set to allow callers to enter this code into auto attendants and IVR menus, then outside callers can dial this feature code as well.
To have a feature code created that routes calls to a conference, please reach out to the Enswitch admin of your account or contact our Technical Support team.
Conference Bridge IVR Menu
Some businesses create a special IVR Menu that is used solely to route callers to different conferences. This kind of IVR menu is commonly referred to as a Conference Bridge IVR Menu.
To create a Conference Bridge IVR Menu…
1. Navigate to Features → IVR menus.
2. On the IVR menus page, click the New >> button to create an IVR menu.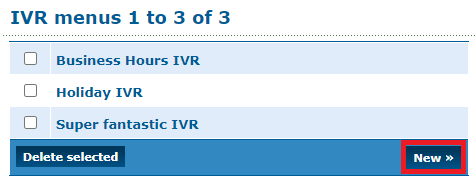
3. In the IVR settings section, fill out the following information: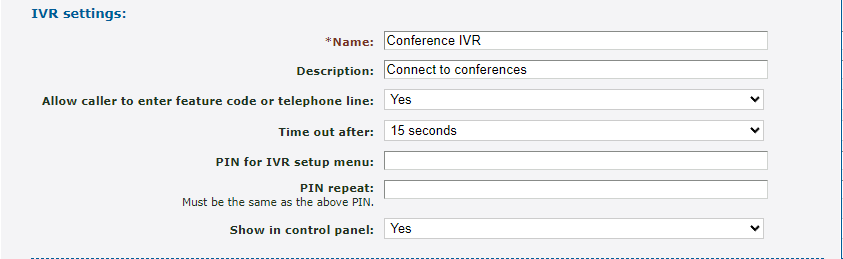
| Settings | Description |
|---|---|
| * Name | Type a name to identify this IVR menu with. |
| Description | Type a note about the purpose of this IVR menu. |
| Allow caller to enter feature code or telephone line | Select whether or not callers should be able to dial feature codes or the extension numbers of users. |
| Time out after | Select how long (in seconds) that the menu should wait for input before following the Time out destination. |
|
PIN for IVR setup menu & PIN repeat |
If the IVR setup menu will be used, type and confirm a PIN that callers would need to enter to access it. |
| Show in control panel |
Select whether or not this IVR menu should be shown on the Control Panel page. Quick Tip: Showing this IVR menu will allow users that use the Control Panel to drag and drop calls onto the IVR menu for transferring. |
4. In the Destinations section, use the dropdown next to a dial pad menu option to select one of the following options.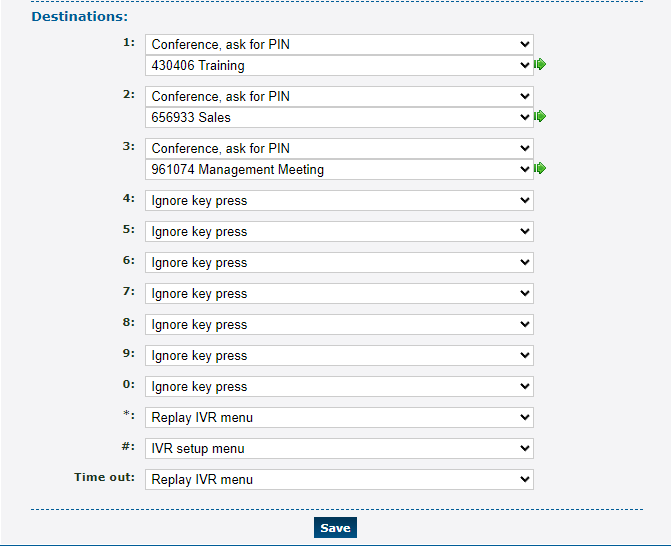
• Conference, administrator - Allow callers to join the conference as an Administrator.
• Conference, ask for PIN - Have the callers enter the Administrator PIN, Listen PIN, or Talk PIN in order to join the conference as their respective role.
• Conference, listen - Allow callers to join the conference as listeners.
• Conference, talk - Allow callers to join the conference with the ability to listen and talk.
5. Click the Save button. 
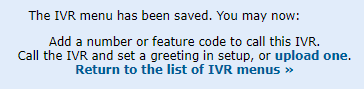
✔ You should see a confirmation message stating that the IVR menu is saved and that a greeting should be added.
5. Make sure that the greeting of the IVR menu lists out the options callers should press to reach the different conferences.
Add an IVR Menu Greeting
1. Scroll down to the Message file section.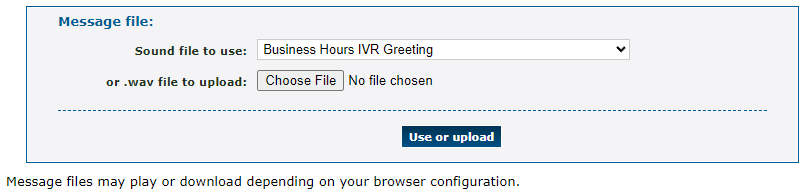
2. Add in the audio file that will replace the greeting of the IVR menu using one of the following methods:
• Use the Sound file to use dropdown to select an audio file that has been added to the Sounds page.
OR
• Click the Choose File button to select and upload a properly formatted 16-bit .wav file (8Khz, Mono, 16-Bit PCM).
3. Click the Use or upload button. 
5. Click the Save button.
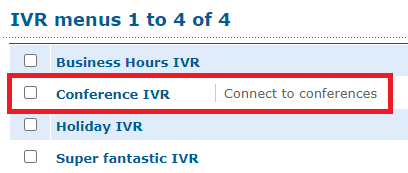
✔ You should see the new Conference IVR menu listed in the IVR Menus page.
7. Route a phone number you own or have our Technical Support team create a feature code for the Conference IVR menu.
Conference IVR Menu Phone Number
If you have an extra phone number, you can have it route calls to the conference IVR menu. This would allow people to call into the IVR menu so that they can pick the conference they need to join.
To route a phone number to a conference IVR menu…
1. Navigate to Features → Numbers.
2. Click the phone number that should be dedicated to the conference bridge.
3. Scroll down to the Route calls to section and use the Default destination dropdown to select IVR menu and the name of the conference IVR menu. 4. Click the Save button.
✔ You should see the phone number listed with the IVR menu as a destination.

5. Place a test call to this phone number to confirm that you can access the conference bridge.
6. Place a test call to this IVR menu to confirm that you can access and use it as intended.
Join a Conference Call
Once a conference bridge has been created, it can be joined in different ways according to the sections above.
If a feature code, IVR menu, or phone number has been set up for contacting the conference bridge, then conference participants can call in using those features to join their conferences.
If a conference has been configured with the “First conference starts”, “Repeats”, and “Total number of conferences” settings adjusted, the extension numbers, telephone numbers, and email addresses set at the bottom of the conference bridge's settings will be notified/called when the conference starts.
Participate in a Conference Call
While Administrators and Talkers are in a conference, they can press star (*) to hear the options they have for interacting in the conference. Unlike administrators and talkers, listeners are only able to listen to the call, so they do not have any options they can press.
View the following tables to learn more about the different actions conference administrators and talkers can use to participate in a conference call.
Administrator Actions
| Key to Press | Description |
|---|---|
| 1 | Mute or unmute yourself |
| 2 and 3 | Decrease and increase your listening volume. |
| 4 and 5 | Decrease and increase your talking volume. |
| 6 | Lock or unlock the conference so that new callers can not join. |
| 7 | Eject the last person that joined the conference call. Other administrators cannot be ejected. |
| 8 | Mute or unmute the talkers and listeners in the conference call. |
| * | Hear these options again. |
Talker Actions
| Key to Press | Description |
|---|---|
| 1 | Mute or unmute yourself |
| 2 and 3 | Decrease and increase your listening volume. |
| 4 and 5 | Decrease and increase your talking volume. |
| * | Return to the conference. |